Feature Overview
| Feature | Description |
|---|
| WiFi Scanning | Scan surrounding WiFi networks to view signal strength, encryption type, MAC address, and other information. |
| WiFi Packet Capture | Capture WiFi packets for network analysis. |
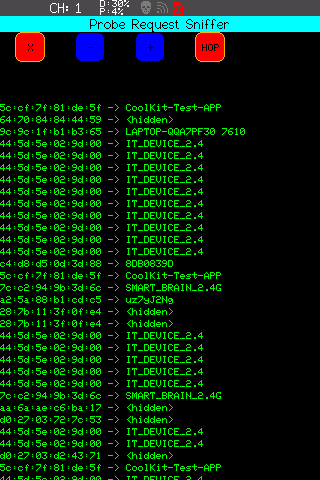
| WiFi Probe Detection | Detect nearby device probe requests to understand which devices are searching for networks. |
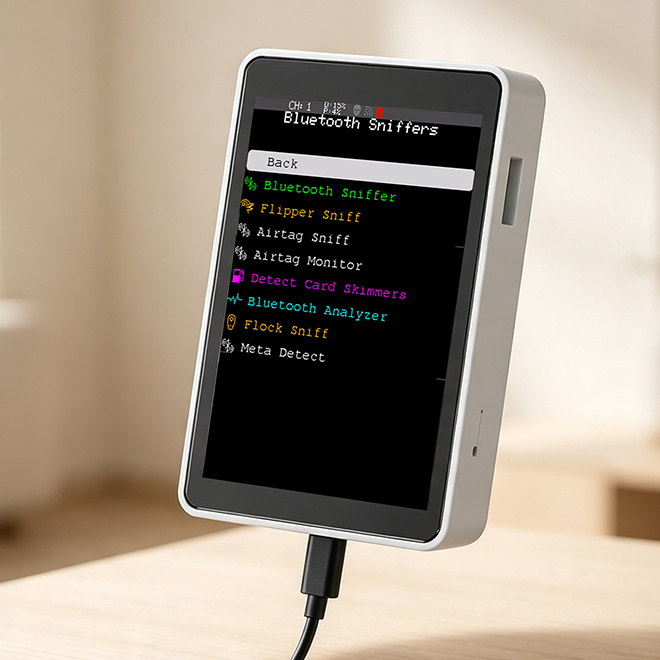
| Bluetooth Scanning | Scan for surrounding Bluetooth Low Energy (BLE) devices. |
| Bluetooth Data Capture | Capture Bluetooth communication packets. |
| Attack and Defense Tools | Includes various WiFi/Bluetooth security testing functions (please use only in authorized environments). |
| SD Card Storage | Supports saving scan data and captured packets to an SD card. |
Quick Start
Preparation
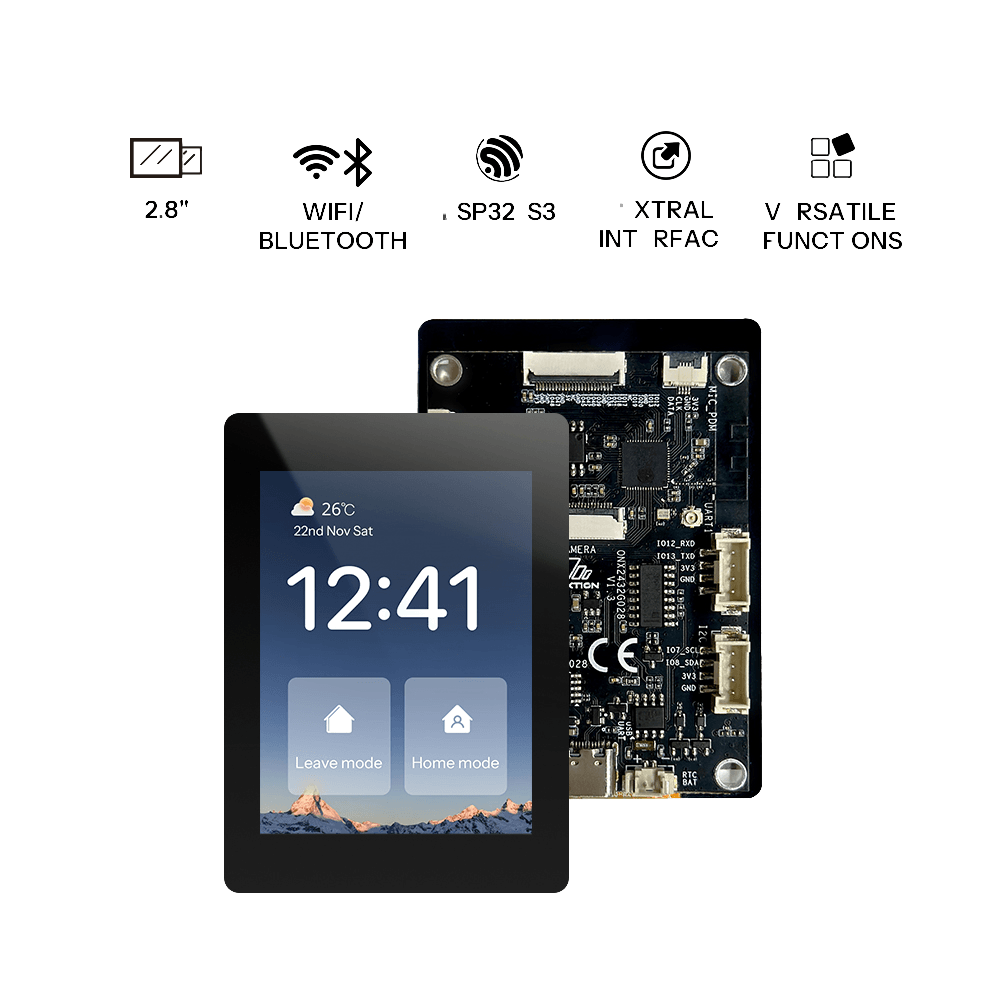
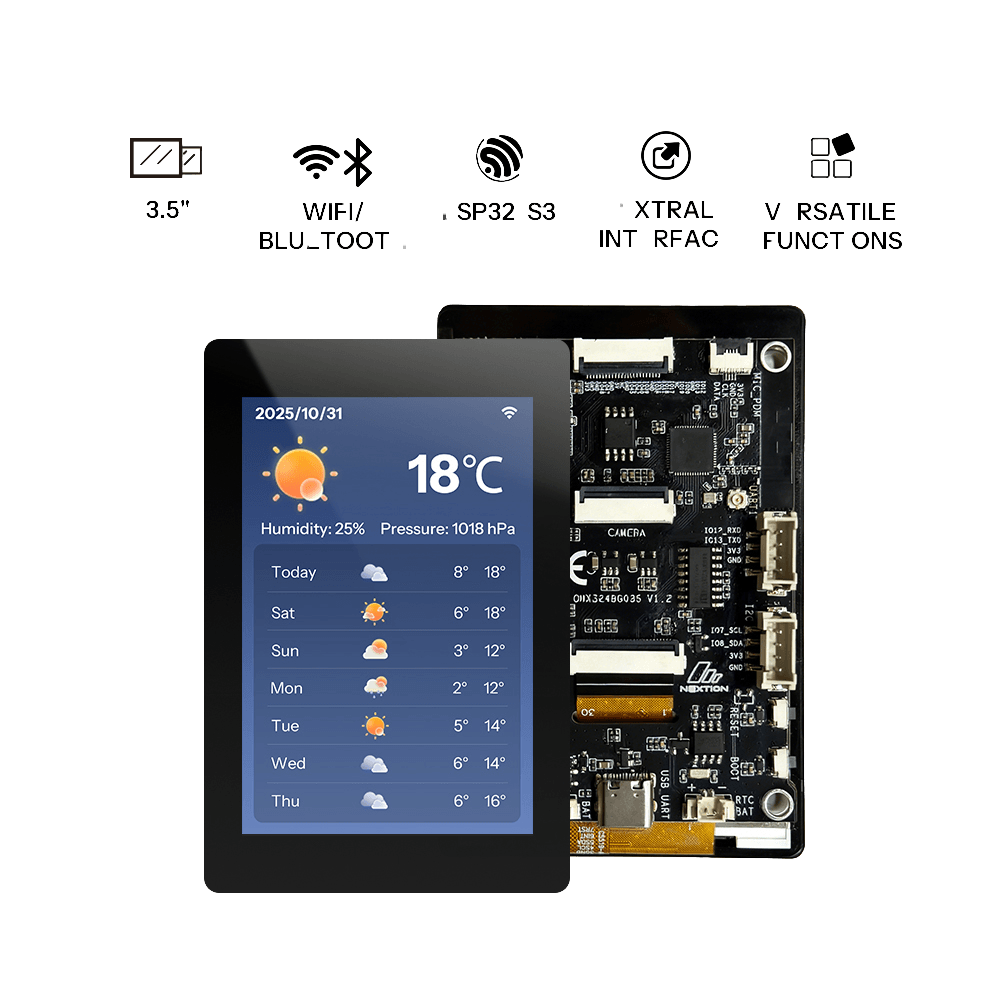
- 1 × supported OpenNextion ESP32-S3 smart display
- 1 × USB data cable
- 1 × Windows/Mac
- 1 × MicroSD Card (Optional, for saving scan data.)
Before starting, ensure the USB cable supports data transfer and maintain a stable connection between the board and your computer.
Flashing the Firmware
- Click Flash Online at the top of the page.
- Select the OpenNextion device model you are using.
- Choose the corresponding serial port when prompted in the browser.
- Wait for erasing, writing, and verification to complete. Do not unplug the USB cable during this process.
After successful flashing, the board will automatically restart and boot into ESP32 Marauder.
Operation Instructions
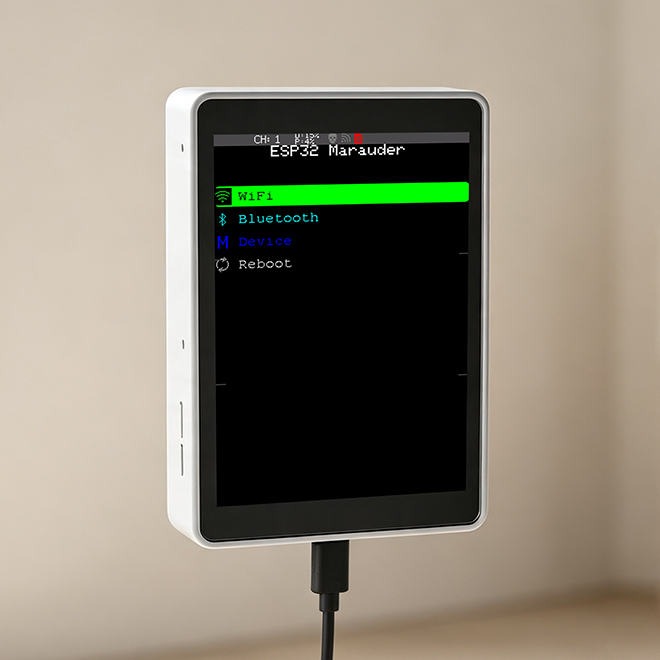
After flashing, the device will automatically start the ESP32 Marauder interface.
Menu Navigation
The screen is divided into three touch areas (upper, middle, lower) by dividing lines. The operation methods are as follows:
- Tap the upper area: move the selection upward.
- Tap the middle area: confirm/enter.
- Tap the lower area: move the selection downward.
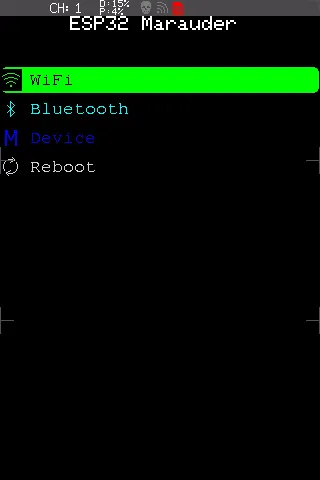
Scanning Interface
- Use the on‑screen virtual buttons for operations, such as X (exit), - / + (adjust parameters), HOP (frequency hopping), etc.