Does this tool require any software installation?
No. ESPHome_UI_Designer is a pure browser‑based tool – just open the web page and start using it, with no downloads or installations required.
ESPHome UI Designer is a browser‑based tool that lets you build custom smart home control panels with drag‑and‑drop simplicity – no coding required. Design your own interface in minutes, then pair it with ESPHome and Home Assistant to create a truly personalized smart home control hub.
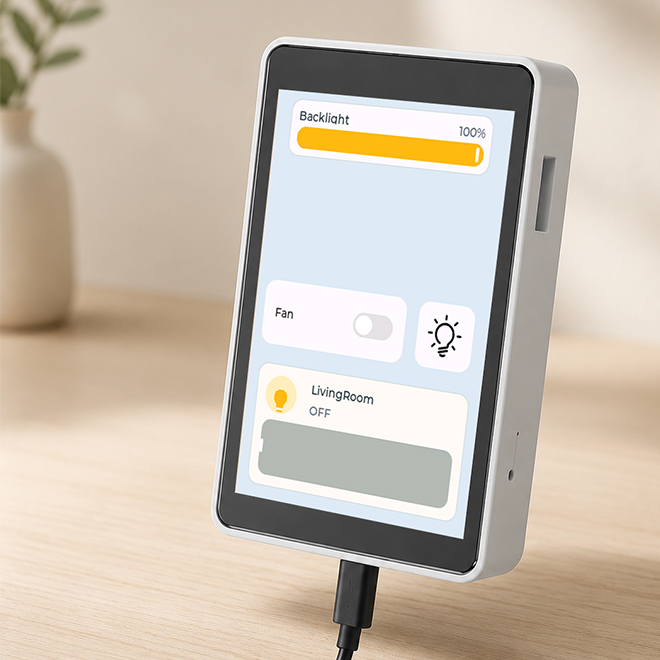
| Feature | Description |
|---|---|
| Drag‑and‑Drop Visual Design | Drag components directly in the browser and adjust positions freely |
| Real‑Time UI Preview | See a near‑final preview of your interface during the design process |
| One‑Click YAML Generation | Automatically generate a ready‑to‑use ESPHome configuration file after design completion |
| Multiple Component Types | Supports switches, lights, temperature/humidity, thermostatic/water valves, curtains, lighting, and humidifiers, with ongoing development for additional components. |
| Pure Web‑Based Operation | No software installation required – works with a deployed Home Assistant instance |
| Flexible Device Selection | Freely select entities from Home Assistant to control from the screen |
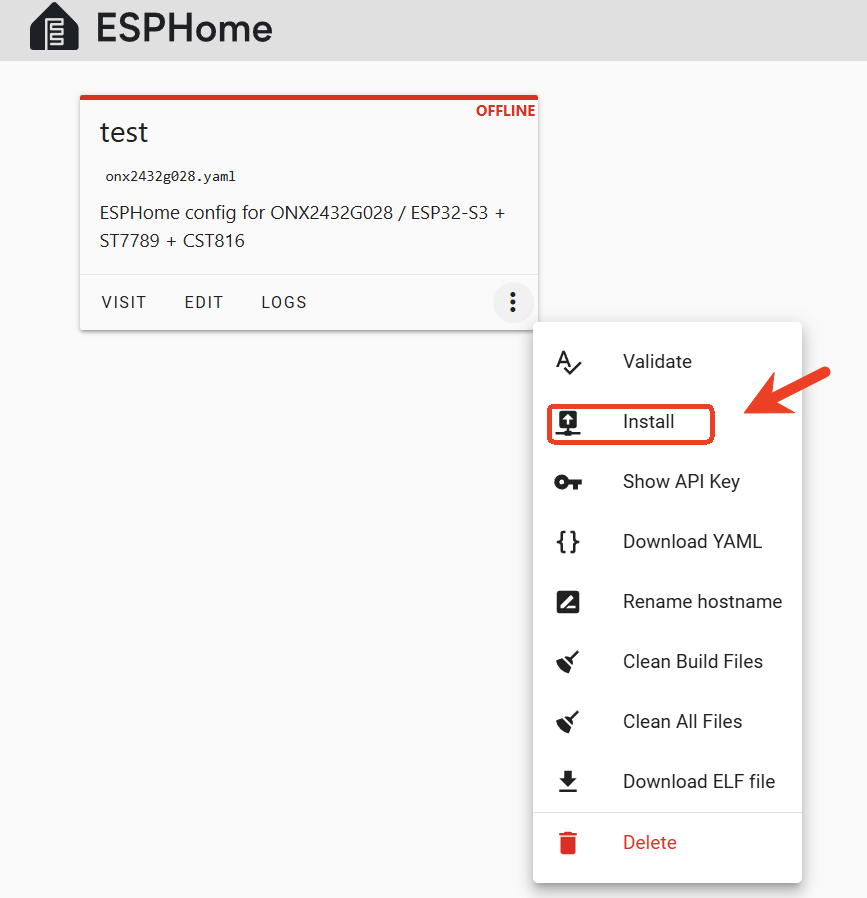
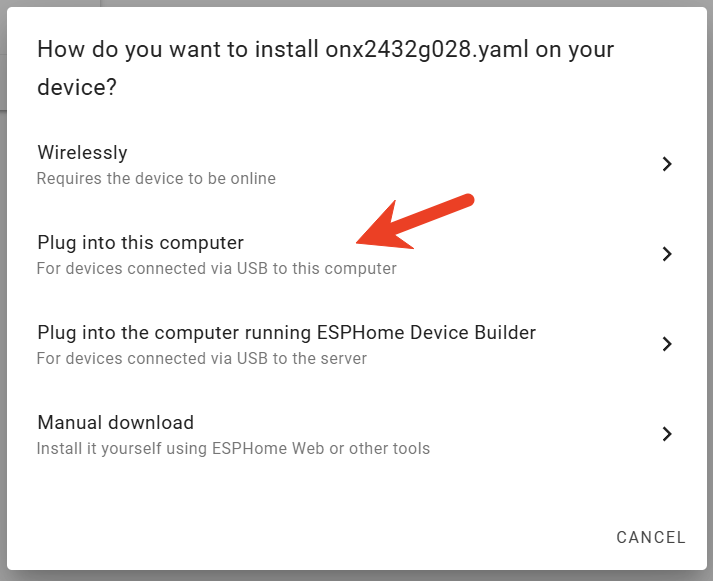
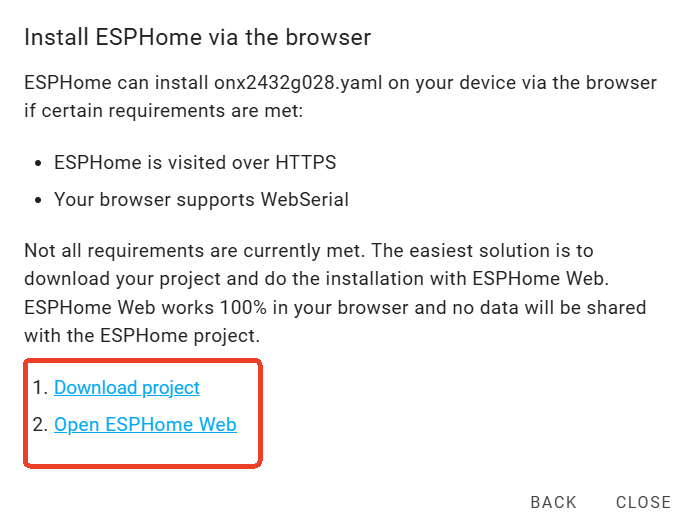
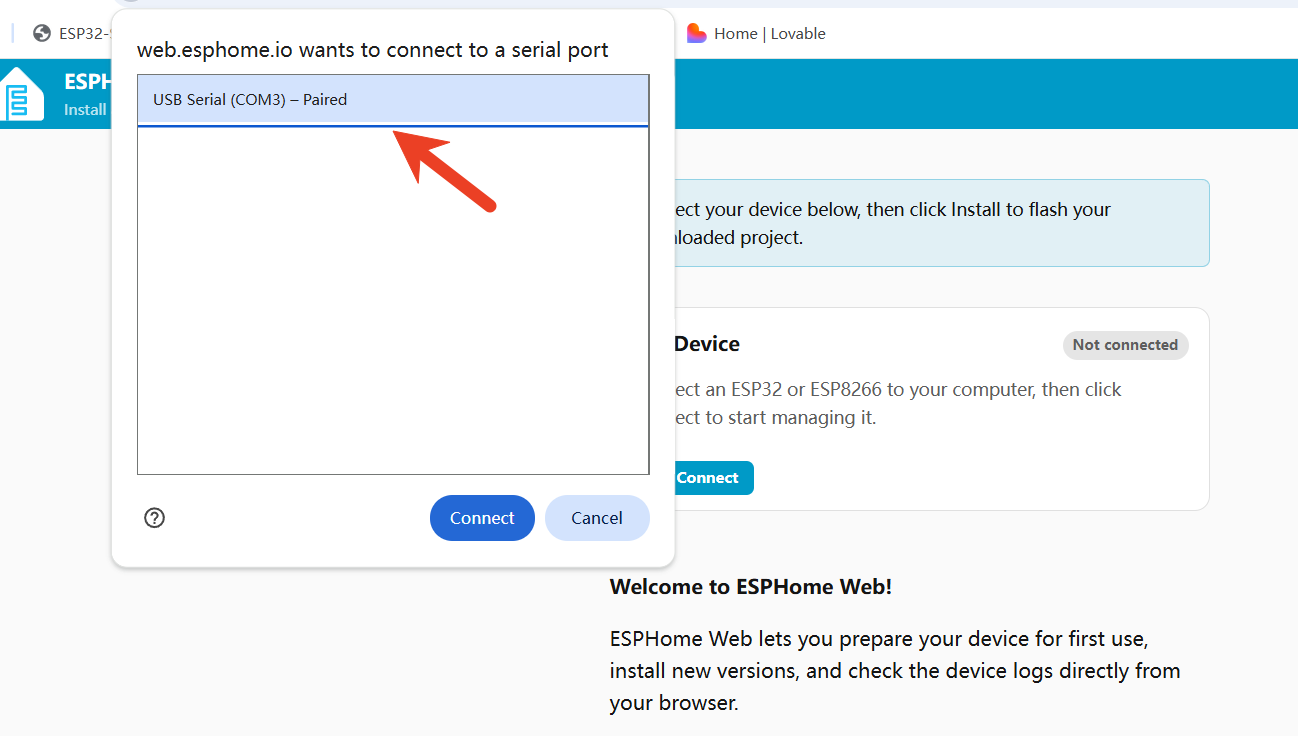
Before starting, ensure the USB cable supports data transfer and maintain a stable connection between the board and your computer.
After opening the ESPHome UI Designer tool, complete the following tow basic settings:
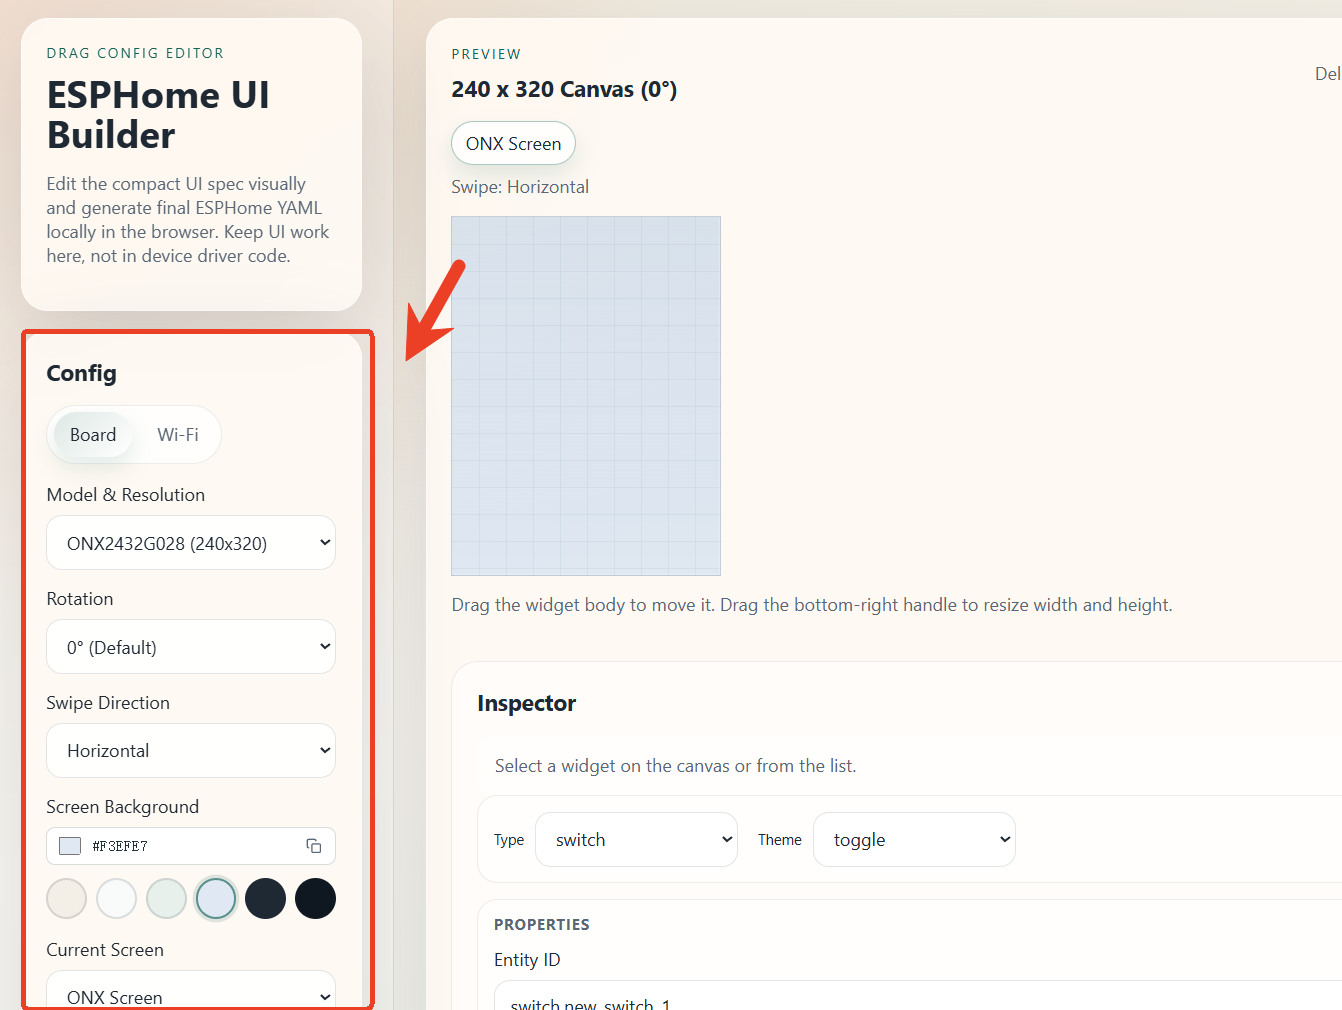
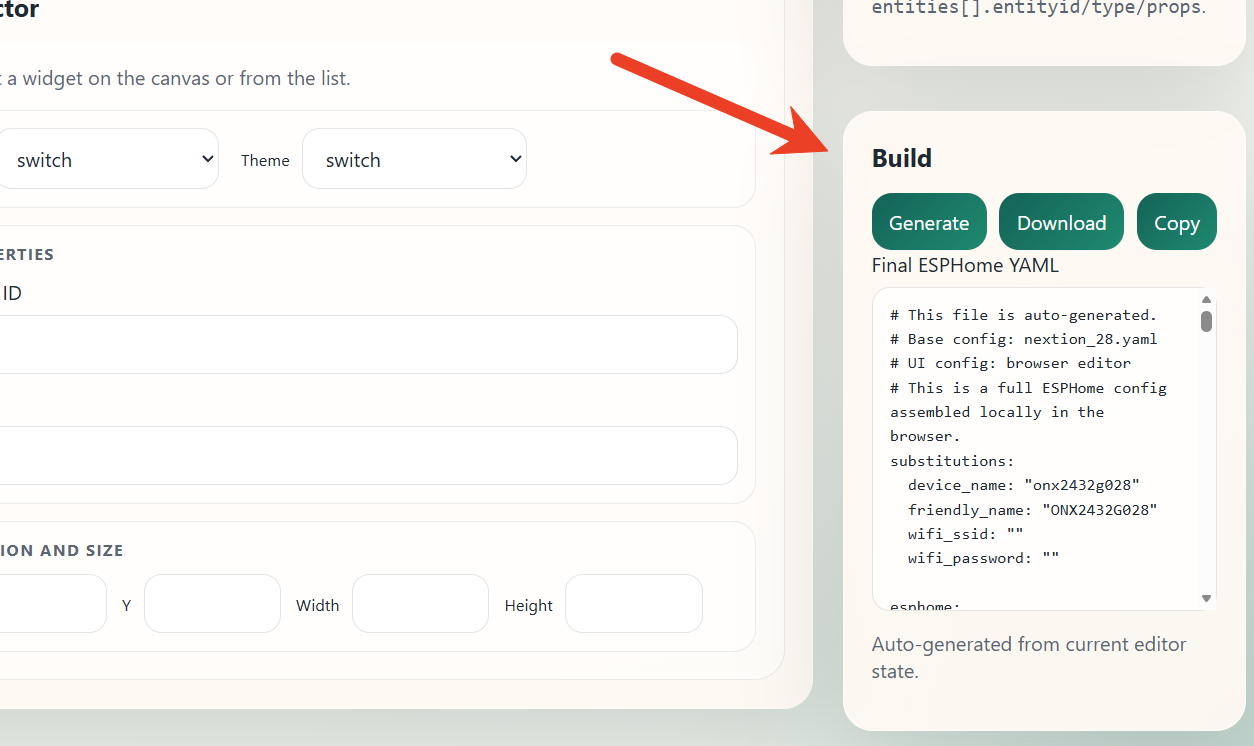
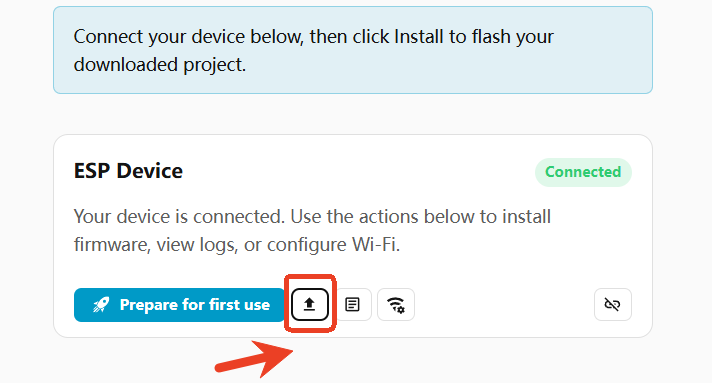
You can perform the initial flashing by clicking the Flash button in the upper‑right corner of the PREVIEW area. This will configure the device's WiFi so that it can later be recognised under the ESPHome integration in Home Assistant.
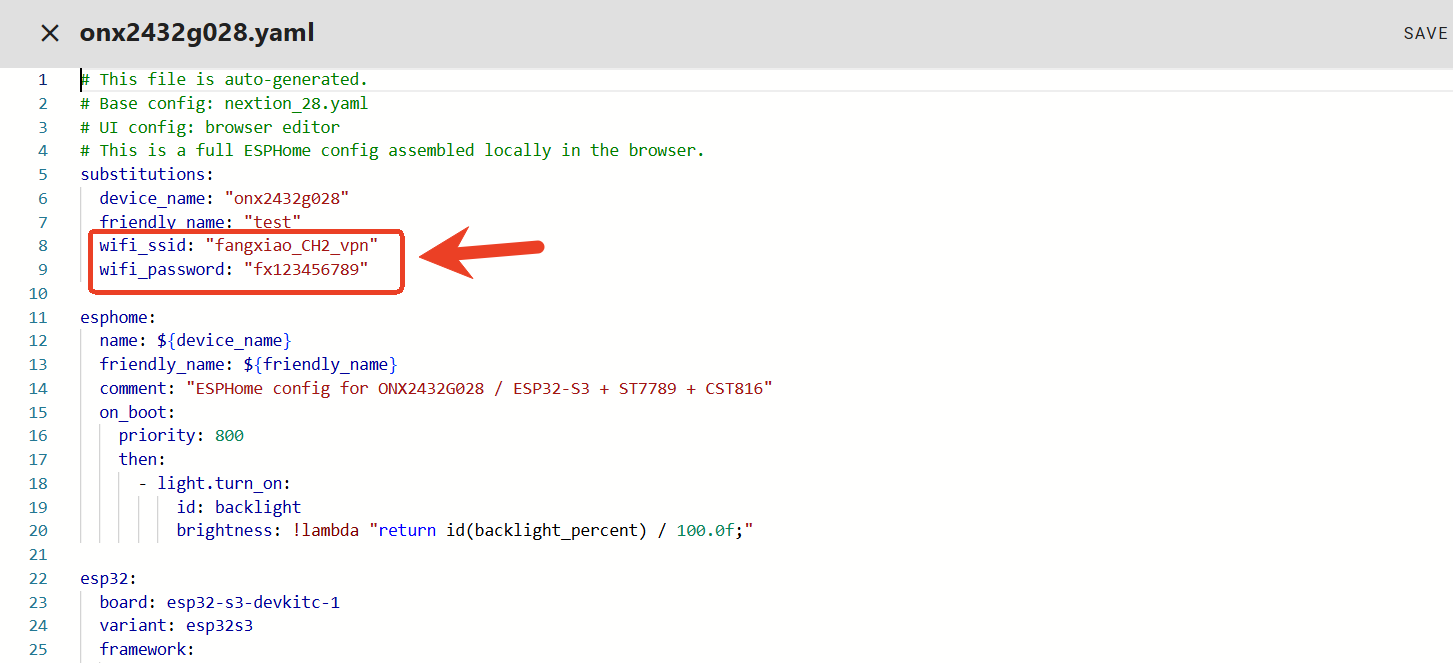
⚠️ Note: Ensure that the WiFi is a 2.4 GHz network and that it is on the same network as Home Assistant.
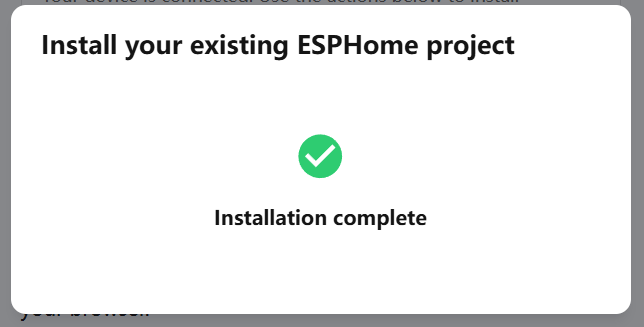
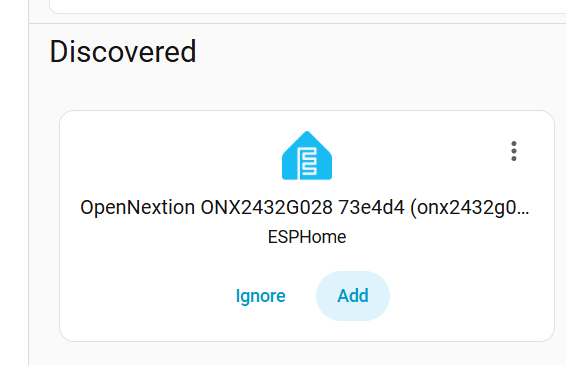
Once the flashing is complete, the device will automatically restart. At that point, it will be auto‑discovered when you enter Home Assistant.
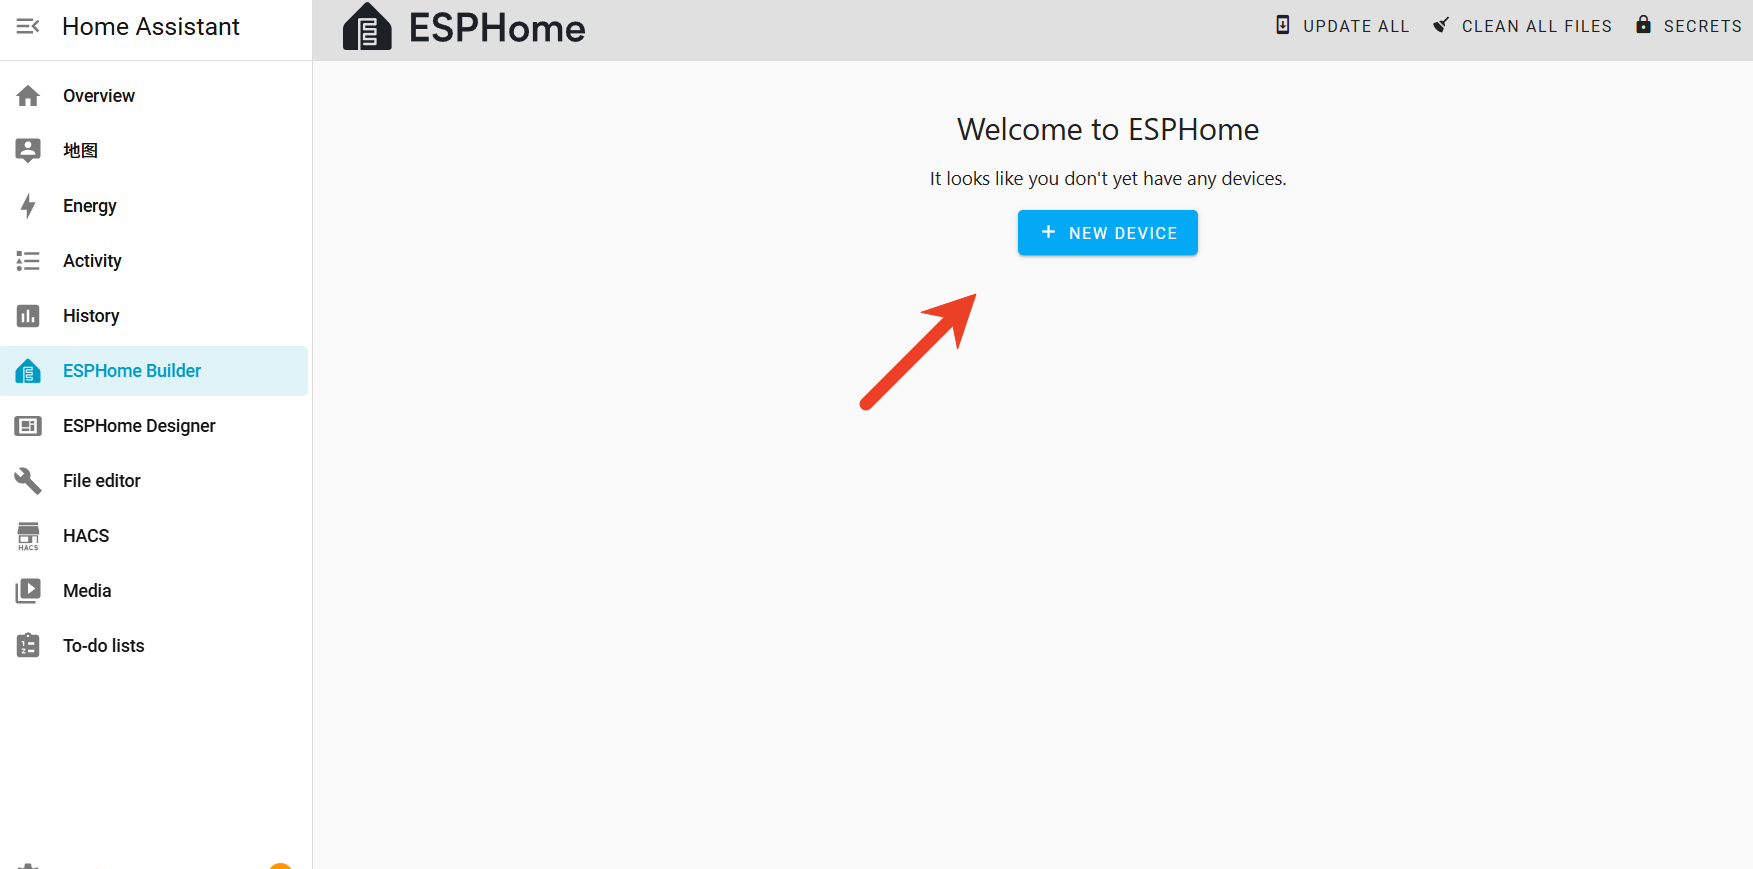
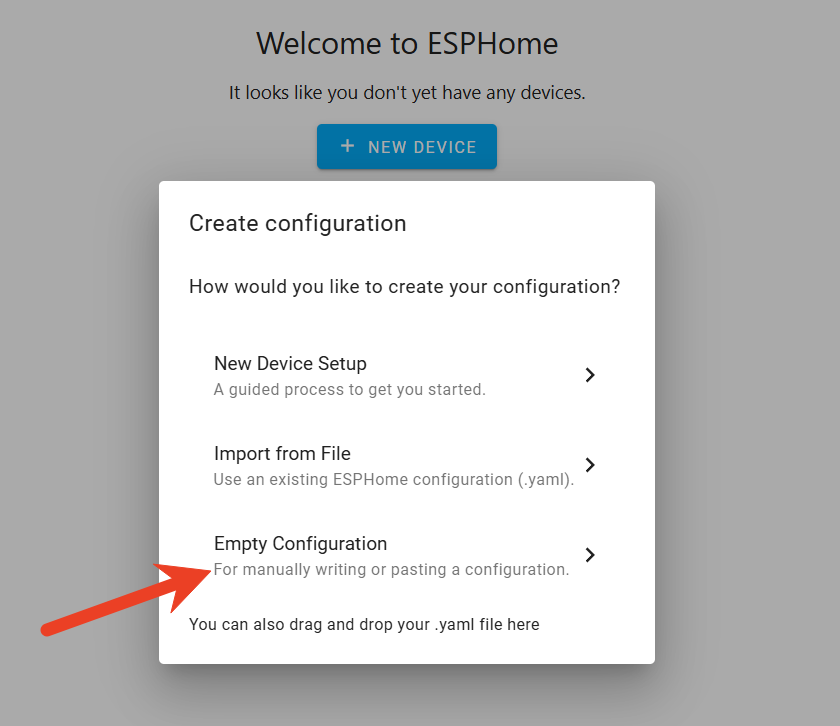
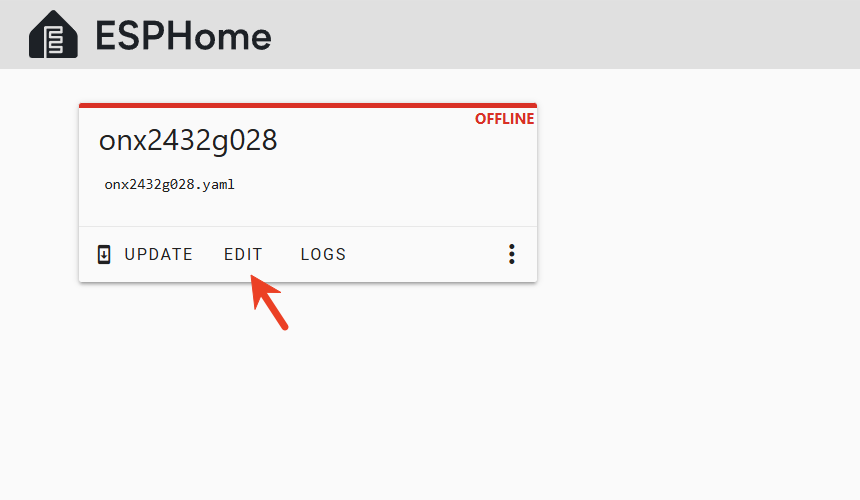
Once the device connects to WiFi, it will be automatically discovered in Home Assistant under Settings>Devices & services.
The device also exposes a light entity to Home Assistant by default, so you can control screen brightness directly from the device settings in Home Assistant.
If you want to control more devices (such as switches, temperature/humidity sensors, etc.) from the screen, you need to follow these steps:
Among these, the Entity ID is required. Go to Settings>Devices & services>Entities , click on the entity you want to add in its settings page, find its ID, and enter it.
Once created, all settings are saved automatically and the preview updates in real time.
After configuring entity IDs, click Flash again for an OTA firmware upgrade to update the UI. The screen will then restart automatically and show the final UI.
When controlling Home Assistant devices from the screen for the first time, you need to authorize the ESP32 device to control other entities in Home Assistant.
Go to Settings>Devices & services>ESPHome Integration, click the configuration icon for your ESP32 device, and select "Allow the device to perform Home Assistant actions" – this enables the ESP32 device to control entities in Home Assistant.
With permissions enabled, you can control your smart home from the touchscreen now!
No. ESPHome_UI_Designer is a pure browser‑based tool – just open the web page and start using it, with no downloads or installations required.
Absolutely. This tool is specifically designed for non‑technical users – you just use the provided components to design your interface, with no coding required at all.
Yes. Simply click Flash on the ESPHome UI Designer tool page, and the device screen will restart and update to the UI page you have configured.
Currently supported components include switch, multi_switch, thermo_hygrometer, cover, light, and hmi_screen_brightness. More components are under development.
Yes. The ultimate goal of this project is to allow your OpenNextion screen to control devices in Home Assistant, so you need to have a Home Assistant system deployed first.
Please make sure your WiFi is a 2.4 GHz network and that the screen and Home Assistant are on the same local network. If it still cannot be found, try restarting the device or checking whether the WiFi password is correct.