Feature Overview
| Feature | Description |
|---|
| Local Voice Wake‑Up | Built‑in "Okay Nabu" wake word by default – detects locally without an internet connection for fast response and privacy protection. |
| Full‑Duplex Voice Interaction | Ask questions via the microphone; the device connects to Home Assistant for speech recognition and processing, then plays voice replies through the speaker. |
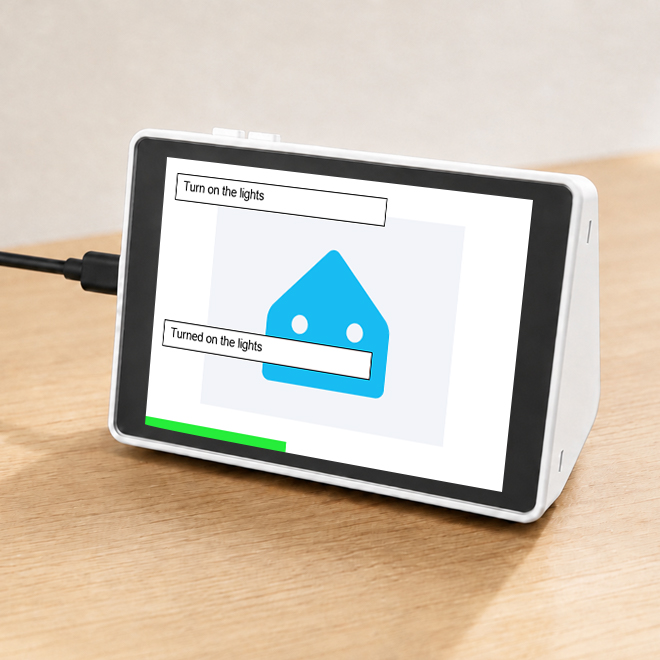
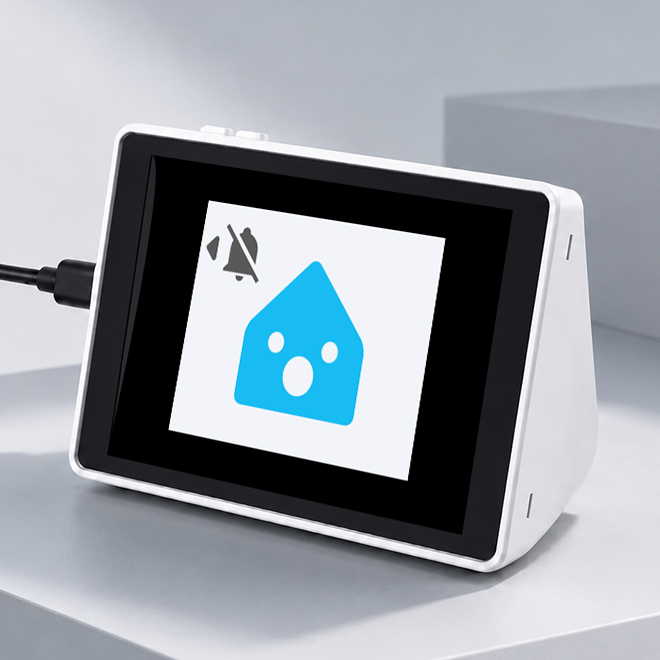
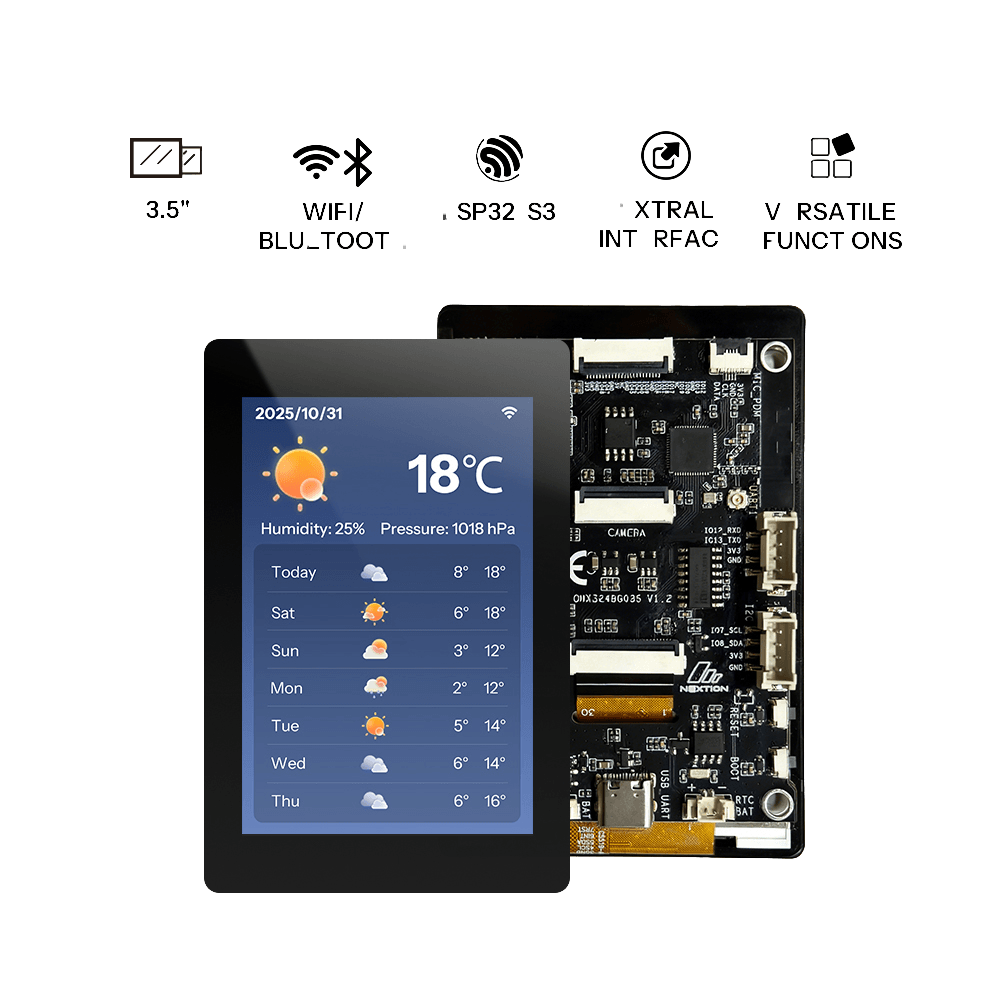
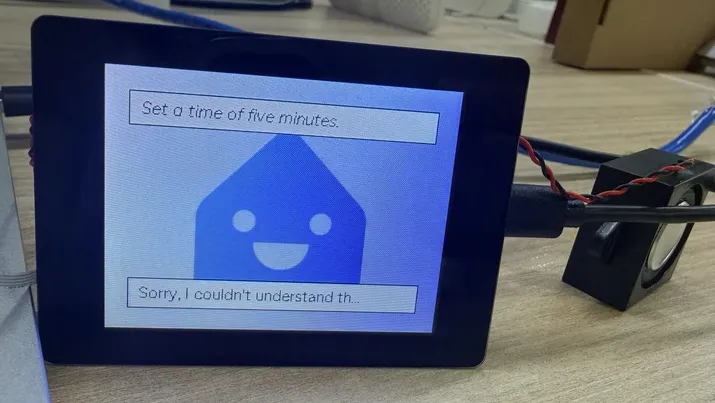
| Touch‑Based Status UI | The screen clearly shows current states: Listening, Thinking, Replying, Error, Mute, or Timer Ringing. |
| Timer Ringing & Touch Stop | Set a timer with a voice command such as “set a timer for 5 minutes”; the device will ring when the timer ends, and you can stop it by tapping the screen. |
| WiFi Provisioning | On first use, the device automatically starts a provisioning hotspot – easily configure WiFi via your phone or computer browser. |
| Home Assistant Auto‑Discovery | After provisioning, the device is automatically discovered by Home Assistant and added as an ESPHome device, seamlessly integrating into your smart home system. |
| Simple Initialization | Press and hold the BOOT button on the device for 10 seconds to clear previous settings and enter the initial setup state. |
Quick Start
Preparation
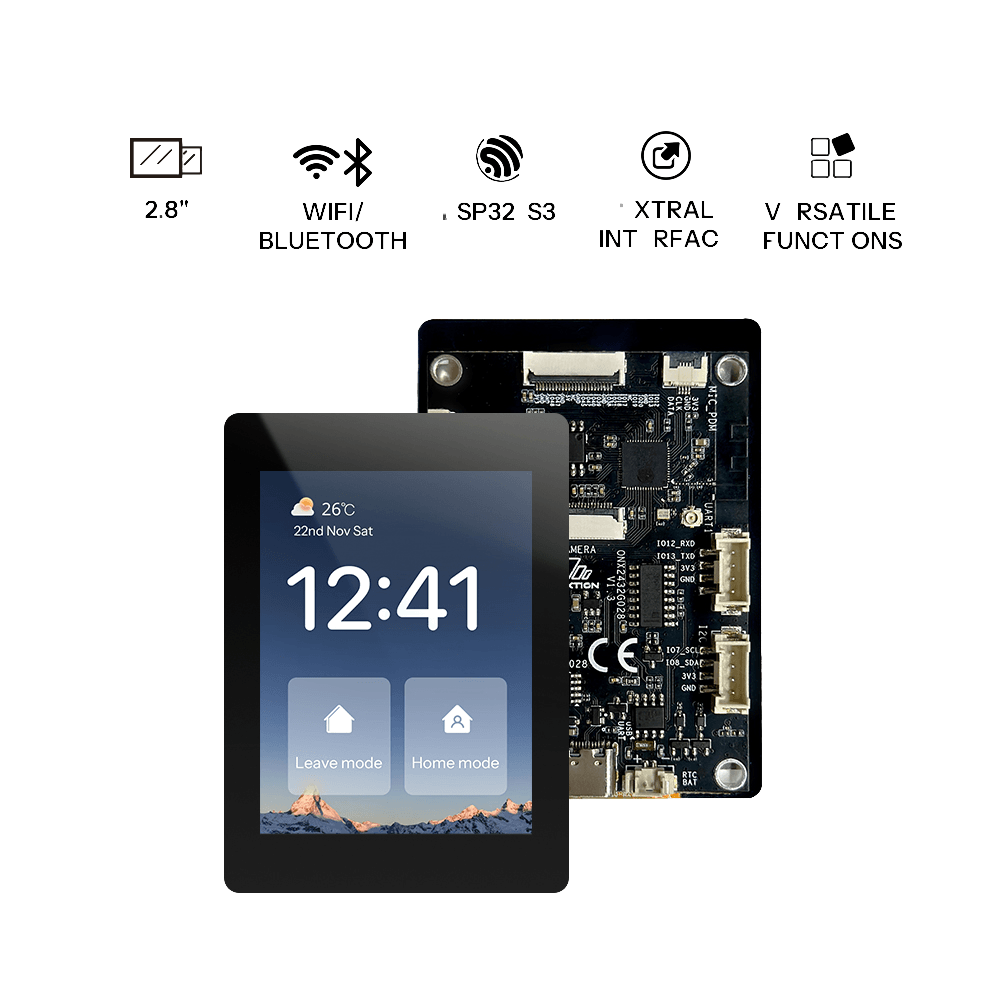
- 1 × supported OpenNextion ESP32‑S3 smart display
- 1 × USB data cable
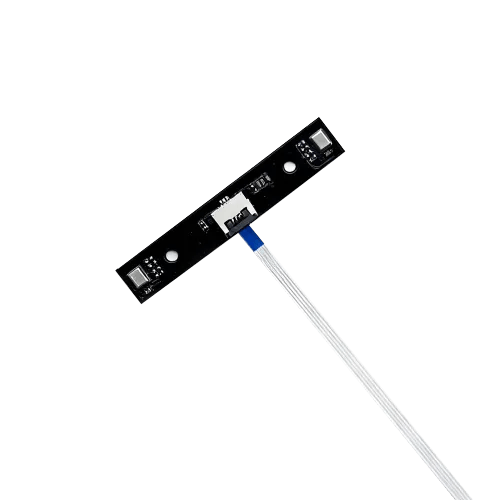
- 1 × microphone module
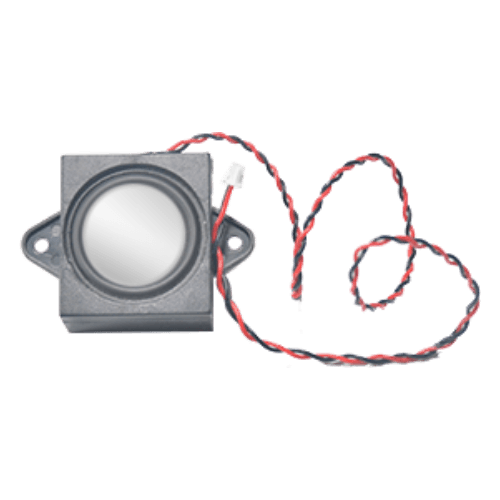
- 1 × speaker module
- 1 × Windows/Mac computer
- 1 × running Home Assistant instance
- 2.4 GHz WiFi network
Note: The ESP32 device provides microphone and speaker interfaces, but these modules are not included and must be obtained separately. You may refer to officially compatible accessories or use other compatible hardware.
Before starting, ensure the USB cable supports data transfer and maintain a stable connection between the board and your computer.
Flashing the Firmware
- Click Flash Online at the top of the page.
- Select the OpenNextion device model you are using.
- Choose the corresponding serial port when prompted in the browser.
- Wait for erasing, writing, and verification to complete. Do not unplug the USB cable during this process.
After successful flashing, the board will automatically restart and boot into the ESPHome voice assistant.
Configuring Home Assistant Voice Models
Before building a local smart home voice assistant, you need to download local Speech‑to‑Text (STT) and Text‑to‑Speech (TTS) model apps from the Home Assistant Add‑on Store. The official recommended apps are:
STT - Whisper

TTS - Piper

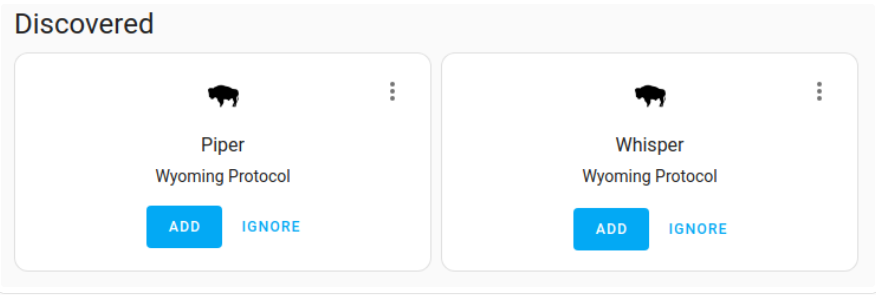
After installation and enabling, go to Settings > Devices & Services. Home Assistant will automatically discover the newly installed apps. Click Add for each to add them. Once added, they will appear under the Wyoming Protocol integration – your Home Assistant voice assistant now has local STT and TTS capabilities.
Add Voice Assistant
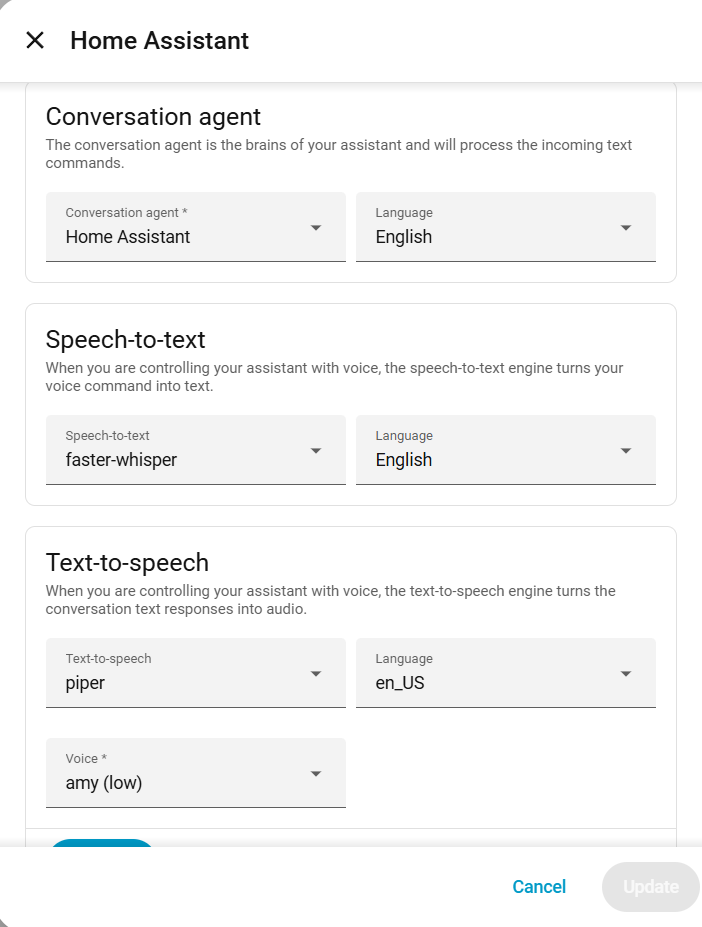
Go to Settings > Voice Assistants to add or modify a voice assistant. Configure its name, conversation agent, language, and select the STT/TTS models. Choose the Whisper model for Speech‑to‑Text and the Piper model for Text‑to‑Speech to complete your local voice assistant setup.
Connecting the Device to HA
Device Provisioning
- First, connect to the ESP32 device's hotspot. The WiFi connection page should appear automatically (if not, manually open the IP address below). Connect to the same 2.4 GHz WiFi network as your Home Assistant to provision the device.
*Make sure the device and Home Assistant are on the same local network.
- Device hotspot SSID:
onx2432g028-xxxxxx (open)
- WiFi connection page IP:
http://192.168.4.1
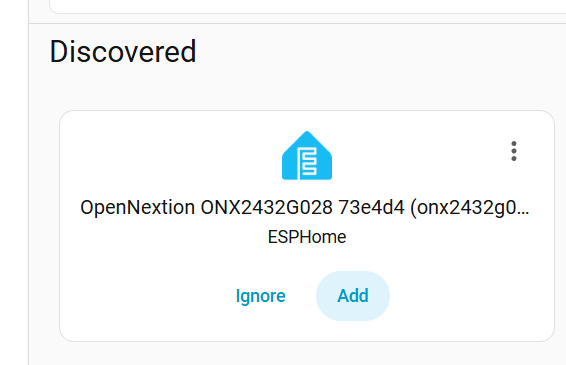
- After provisioning, the ESP32 device will be automatically discovered by Home Assistant. Go to Settings>Devices & services in Home Assistant and add the device.
Voice Assistant Configuration
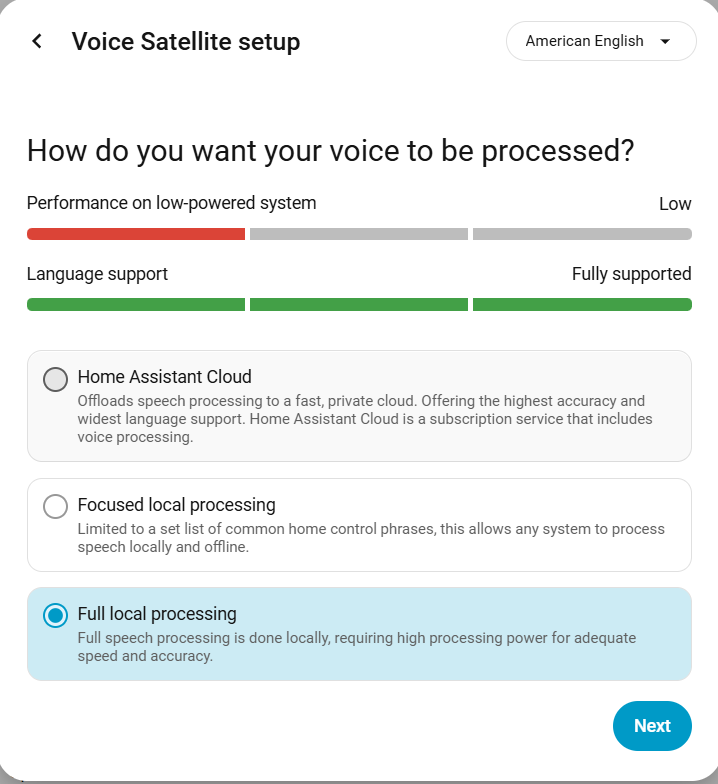
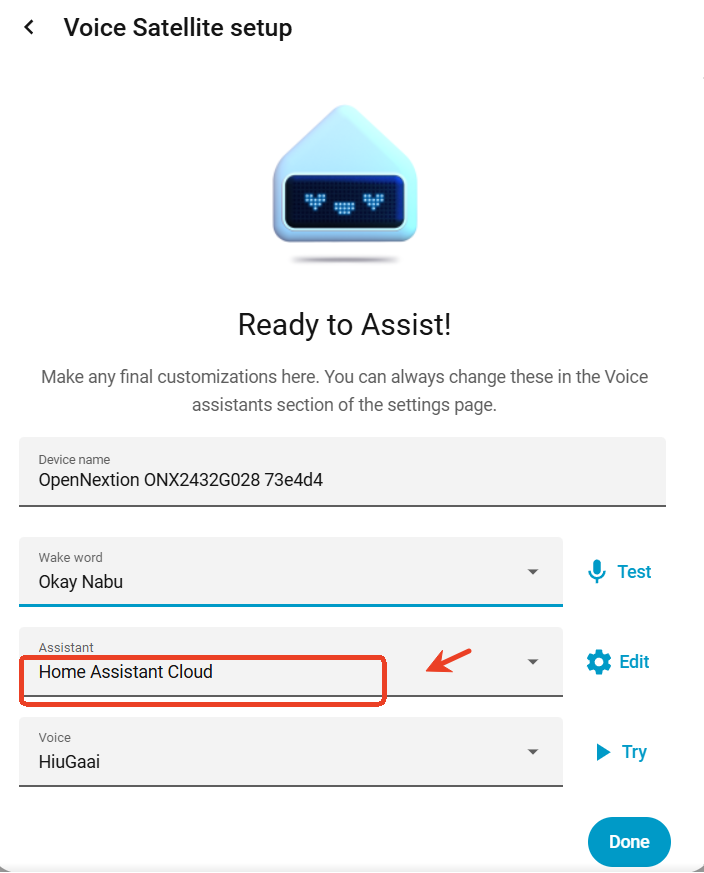
- Once added, the ESP32 device screen will show "Initializing" status. A configuration pop‑up for the voice assistant will appear automatically – follow the steps.
*Make sure to select "Full local processing" for voice communication to build a local voice assistant.
*Be sure to select the Voice Assistant you have just configured.
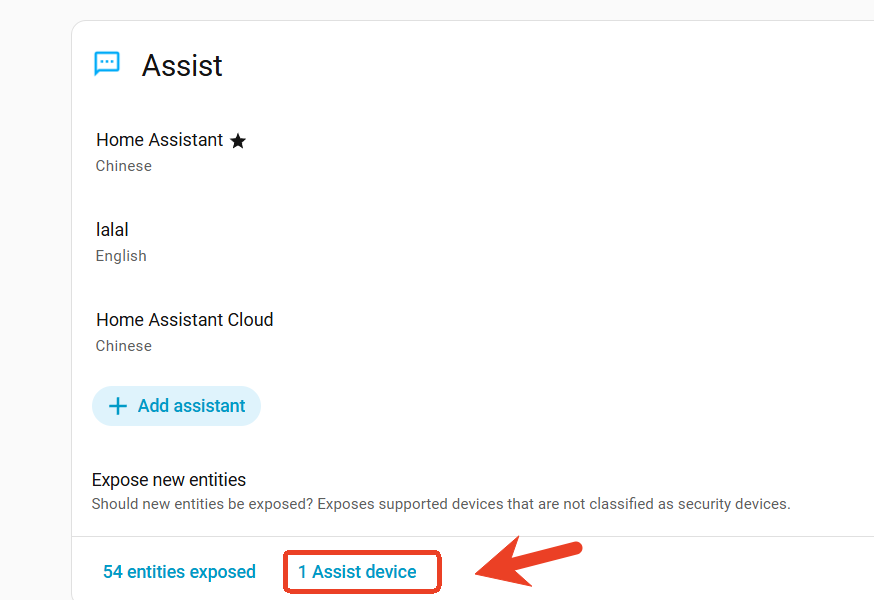
- After configuration, the ESP32 device will appear in the list under Settings > Voice Assistants > Assist Devices – indicating that the device is now bound to the voice assistant.
Configuring Entities
Now your voice assistant is ready. The final – and most important – step is to give it access to the entities you want to control, so it understands your commands.
- Before you begin, you need to grant your ESP32 device permission to control other devices:
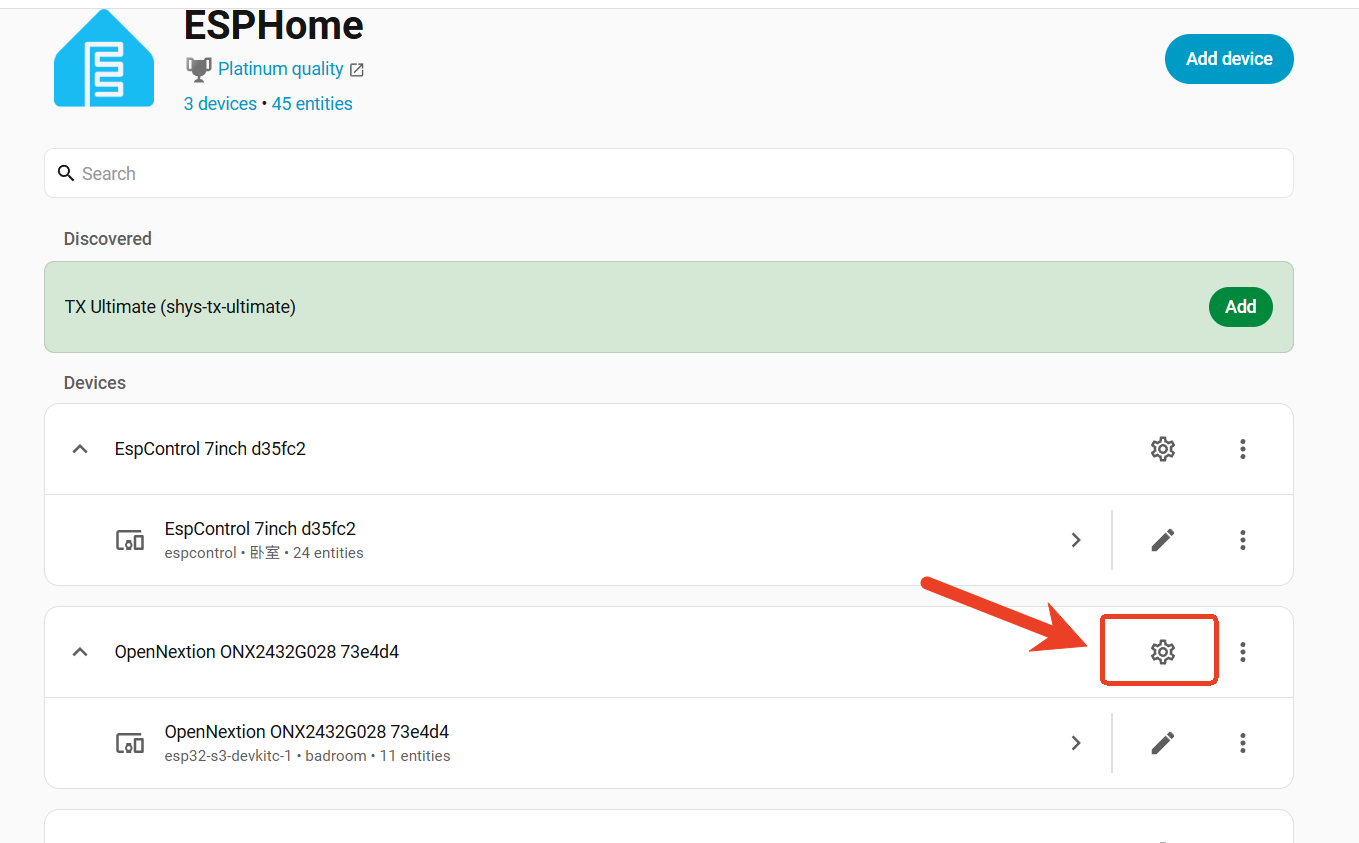
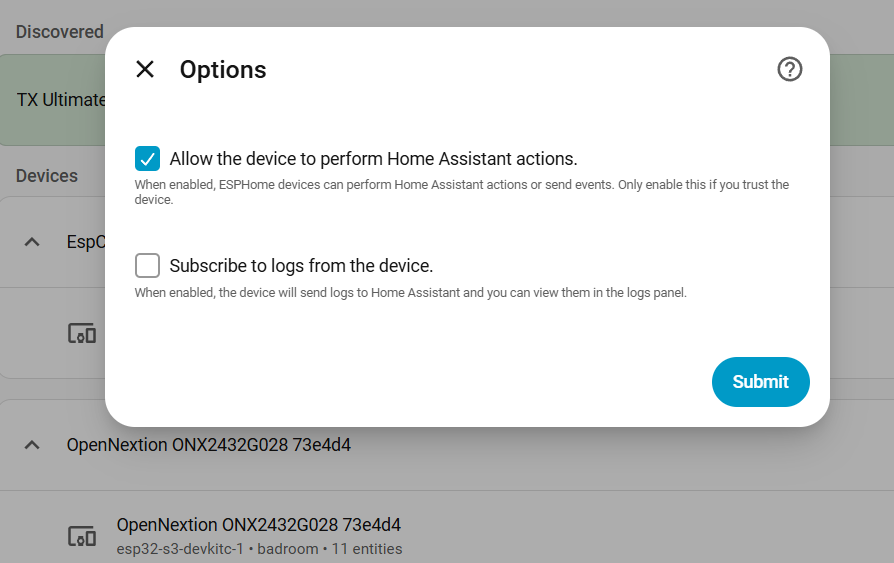
Go to Settings > Devices & Services > ESPHome Integration, click the configuration icon for your ESP32 device, and select “Allow the device to perform Home Assistant actions” – this enables the ESP32 device to control entities in Home Assistant.
- Go to Settings>Voice assistants>entity exposed and add the entities you want to control (such as switches, lights, outlets, etc.).
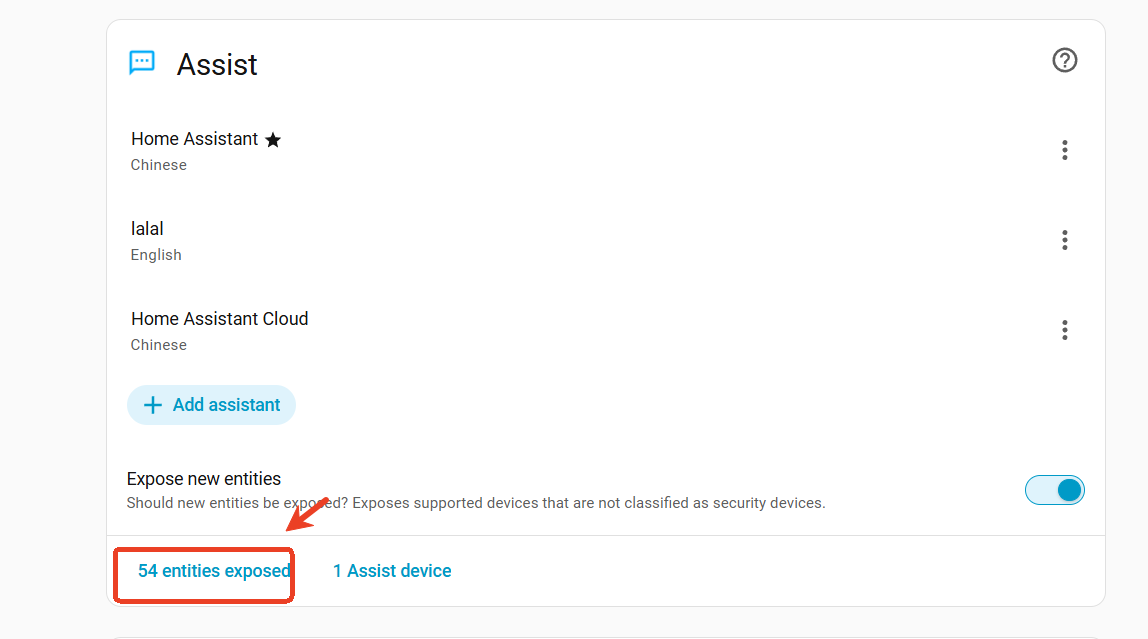
Now, after completing the above configuration, you can start a conversation with your new local voice assistant – use voice commands to effortlessly control switches, outlets, lights, and other connected devices!
Notes
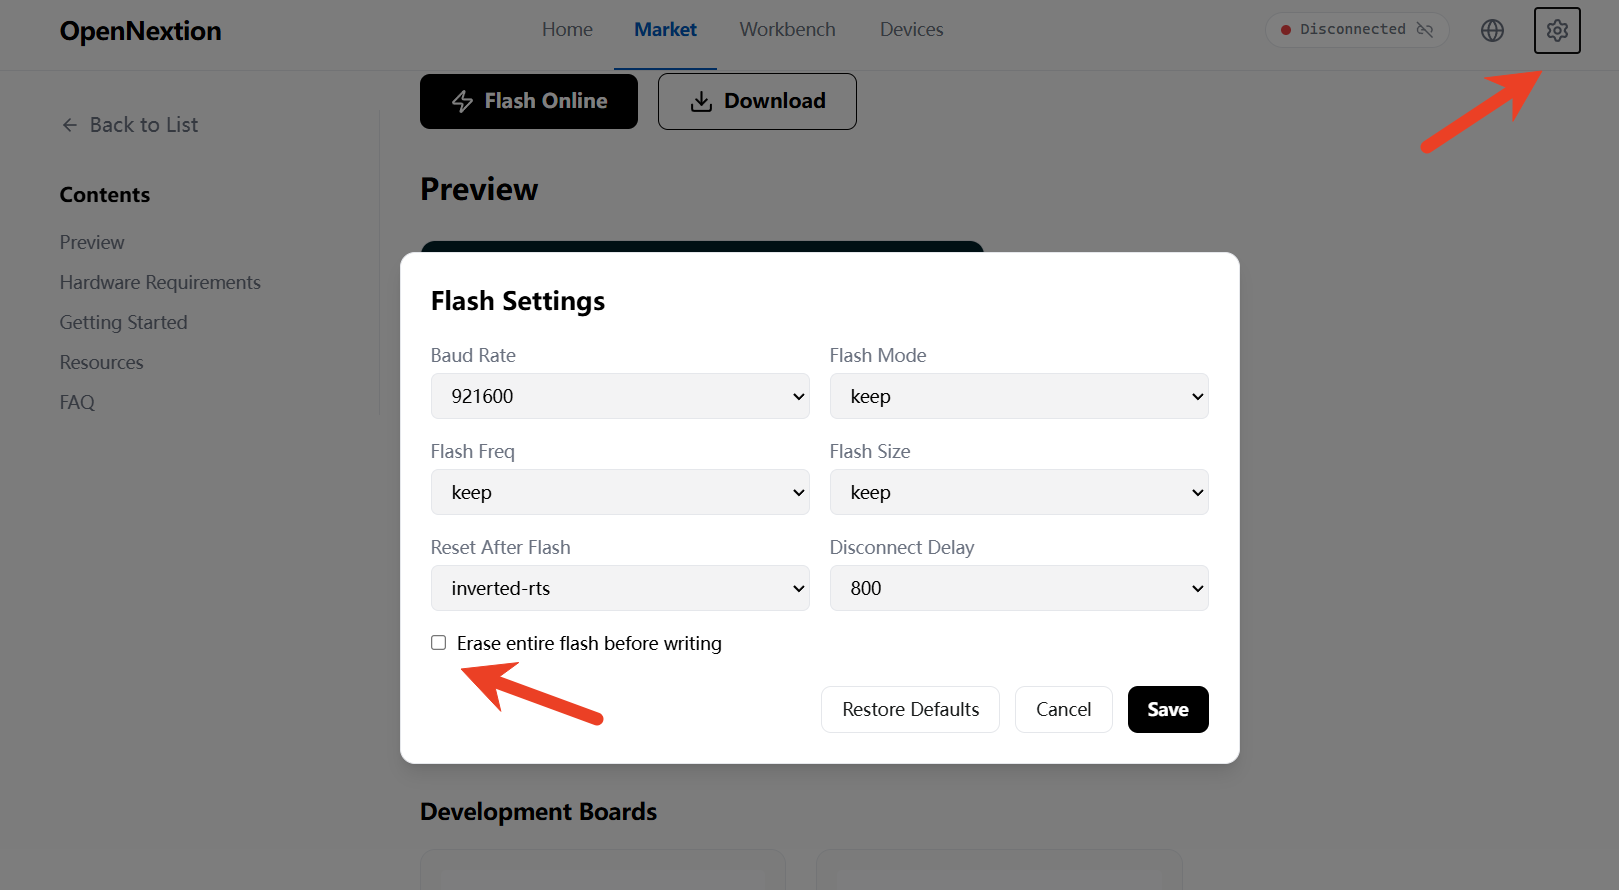
💥To reconfigure WiFi, press and hold the BOOT button on the device for 10 seconds to initialize, or click the "flashing settings" icon in the top‑right corner and check "Erase all flash before flashing" to factory reset the ESP32 device, then re‑flash the firmware.