Microphone Test Demo
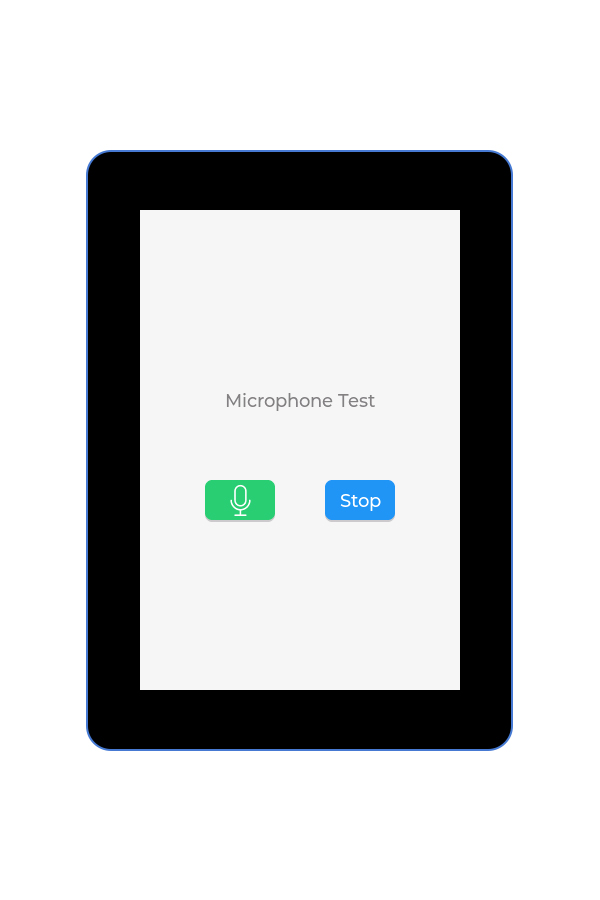
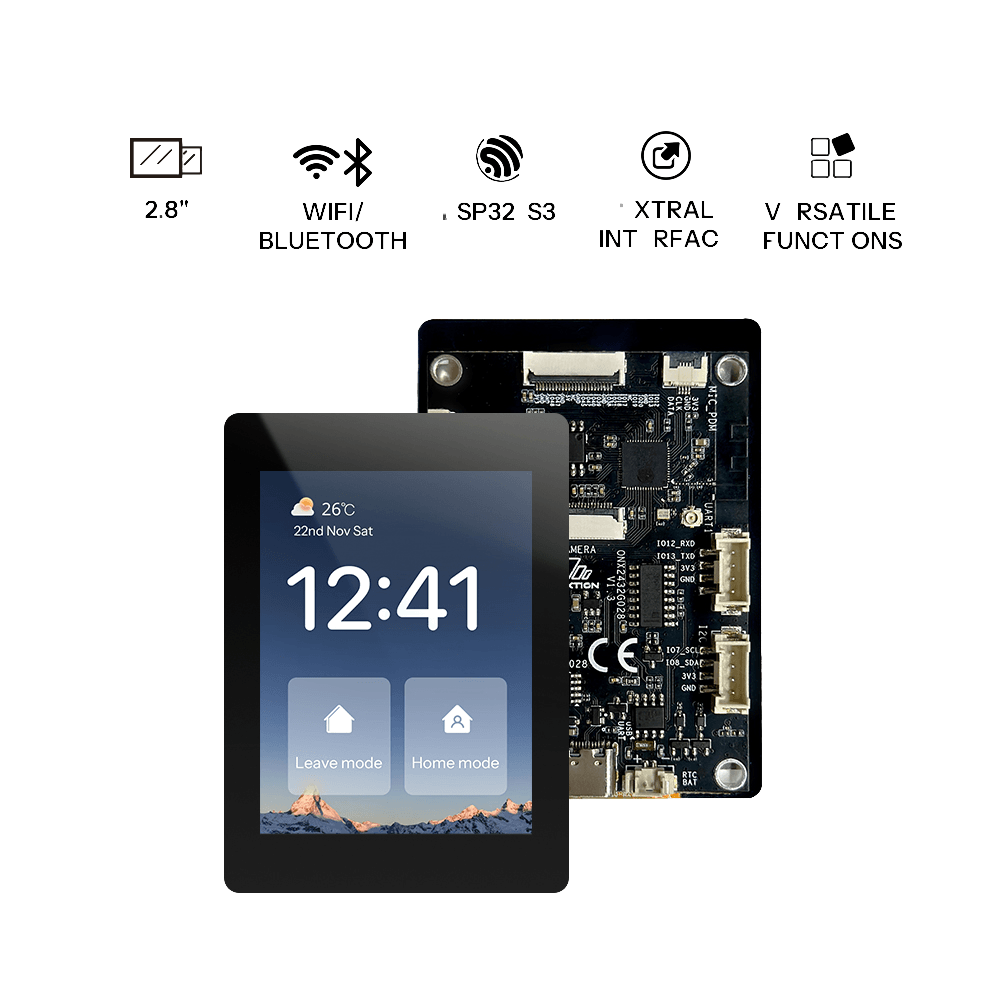
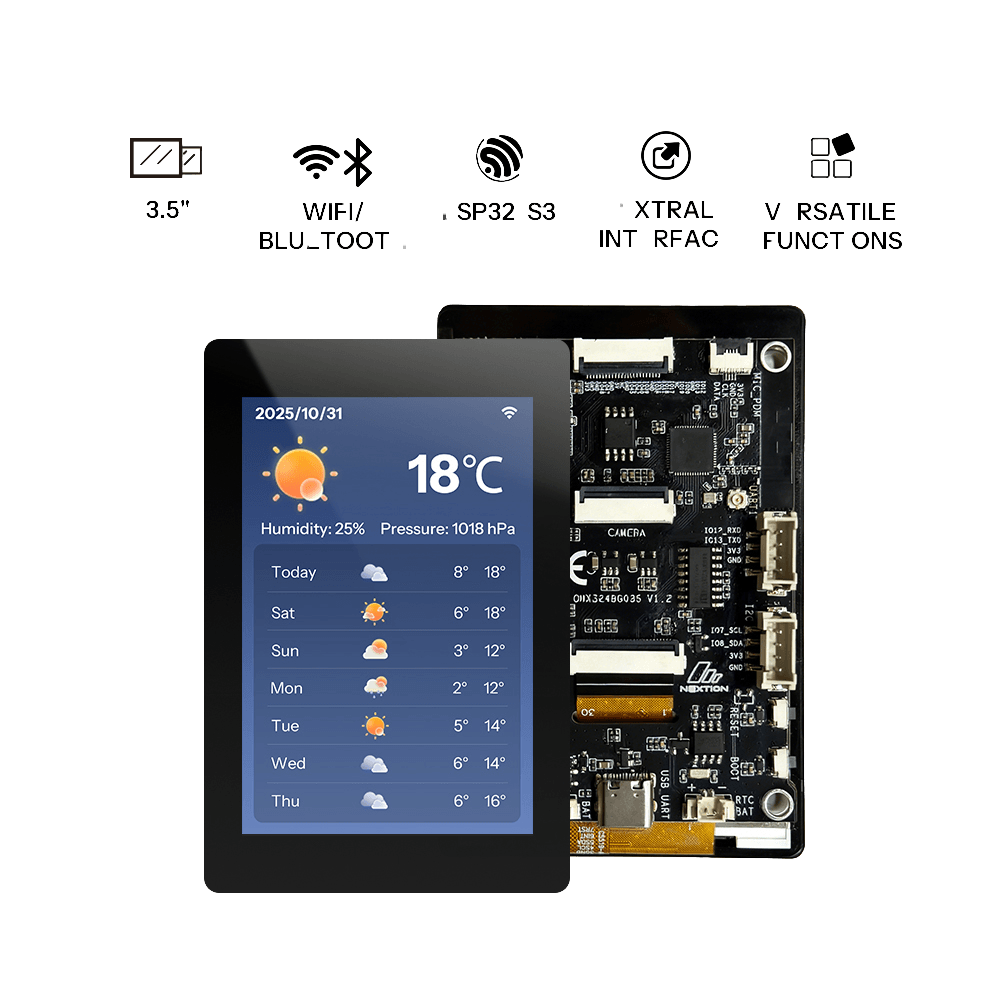
This example demonstrates microphone capture, AFE processing, and playback on the OpenNextion 2.8" and 3.5" devices. The LVGL UI provides MIC (record), release-to-play, and STOP controls.
Preview
Hardware Requirements
Development Boards
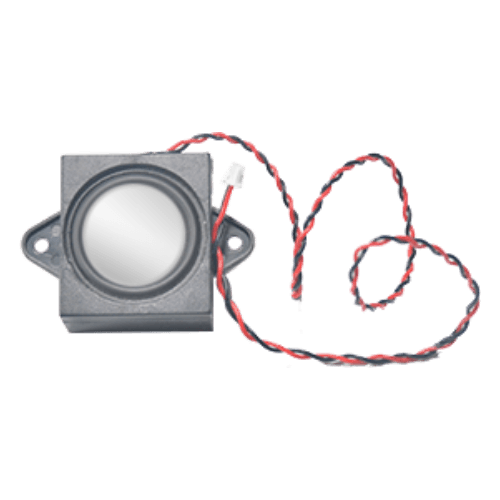
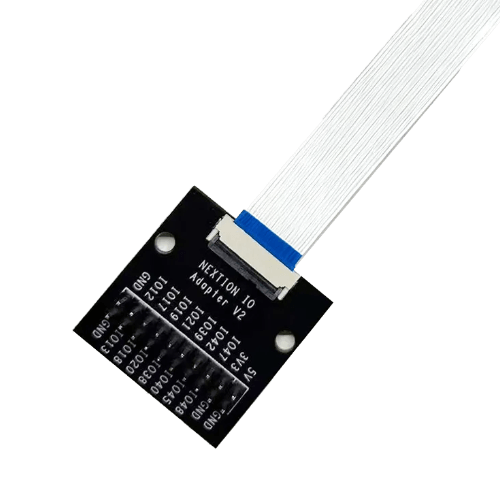
Accessories
Getting Started
Preparation
- 1 × supported OpenNextion ESP32-S3 smart display
- 1 × USB data cable
- 1 × Microphone
- 1 × Speaker
- 1 × Windows/Mac computer
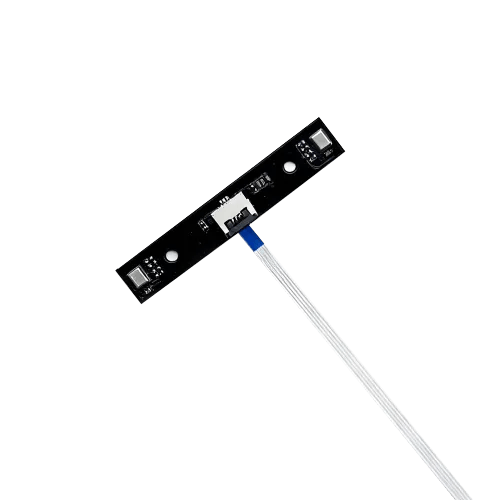
Note: ESP32 devices provide microphone and speaker interfaces, but the modules are not included and must be purchased separately. You may use officially recommended accessories or other compatible hardware.
Before starting, ensure the USB cable supports data transfer and maintain a stable connection between the board and your computer.
Flashing the Firmware
- Click Flash Online at the top of the page.
- Select the OpenNextion device model you are using.
- Choose the corresponding serial port when prompted in the browser.
- Wait for erasing, writing, and verification to complete. Do not unplug the USB cable during this process.
After successful flashing, the board will automatically restart.
Operating Instructions
Connect the microphone and speaker to the device. Hold the Microphone button to record audio, release to automatically play the recorded audio through the speaker, and press the “Stop” button to stop playback.