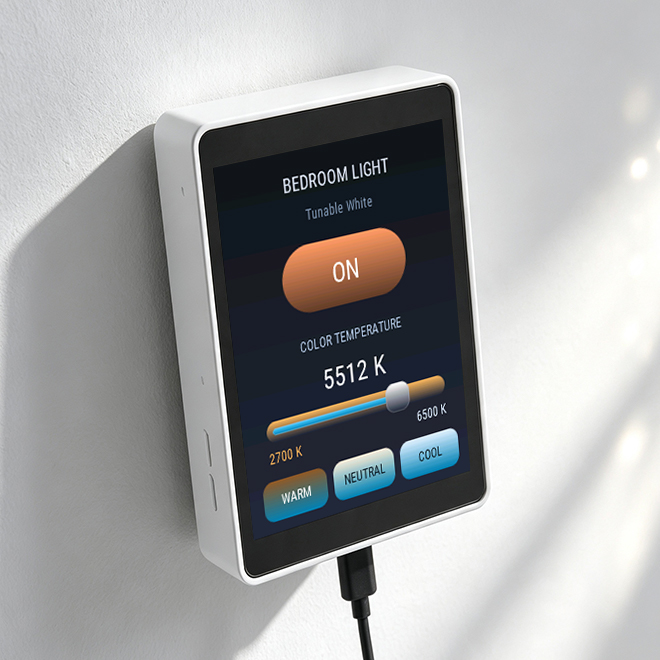
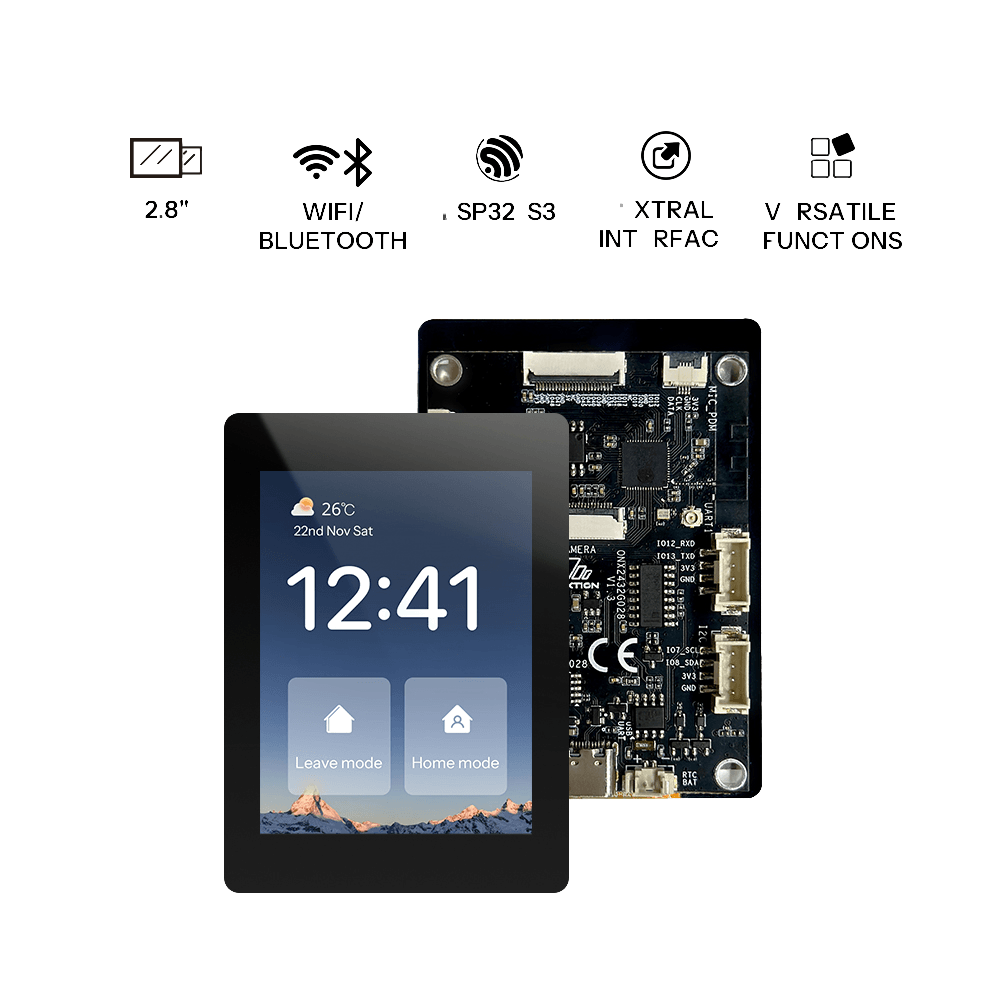
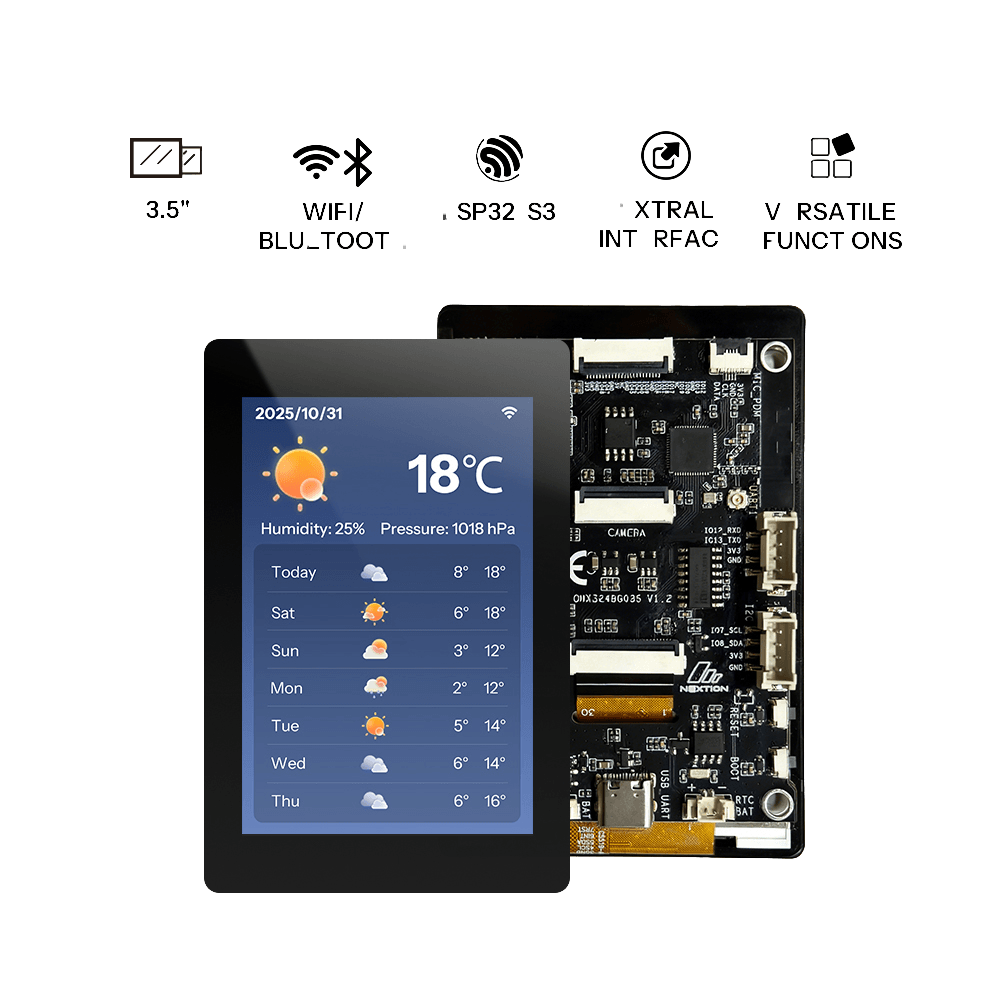
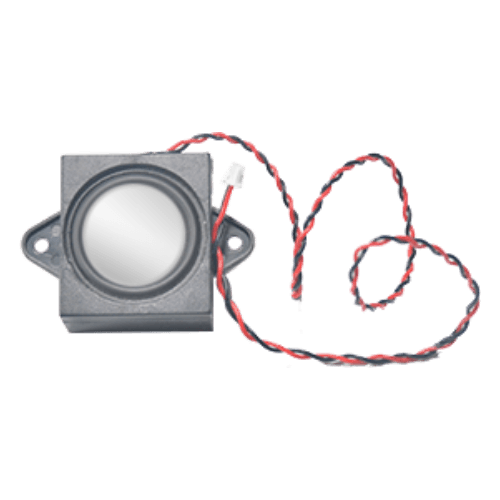
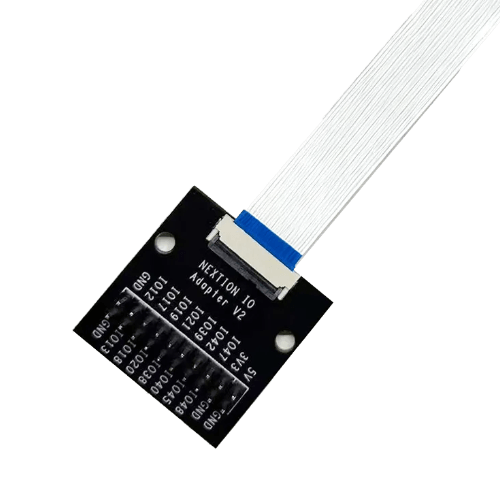
Feature Overview
| Feature | Description |
|---|
| JSON‑configured UI | Freely define the screen layout by writing simple JSON files – no programming required, easy to get started. |
| Rich UI components | Design freely with buttons, switches, sliders, arc controls, labels, color pickers, dropdown menus, and more. |
| MQTT protocol communication | All operations and statuses are transmitted via MQTT, compatible with Home Assistant, openHAB, and other open‑source smart home platforms. |
| Web‑based device management | Provides a web management interface with online UI preview, file editing, network configuration, firmware upgrades, etc. |
| OTA firmware updates | Supports over‑the‑air upgrades without re‑flashing. |
Quick Start
Preparation
- 1 × supported OpenNextion ESP32‑S3 smart display
- 1 × USB data cable
- 1 × running Home Assistant instance
- 1 × Windows/Mac computer
- 2.4 GHz WiFi network
Before starting, ensure the USB cable supports data transfer and maintain a stable connection between the board and your computer.
Flashing the Firmware
- Click Flash Online at the top of the page.
- Select the OpenNextion device model you are using.
- Choose the corresponding serial port when prompted in the browser.
- Wait for erasing, writing, and verification to complete. Do not unplug the USB cable during this process.
After successful flashing, the board will automatically restart.
Device WiFi Provisioning
After the firmware is flashed, you can configure the network using either of the following methods:
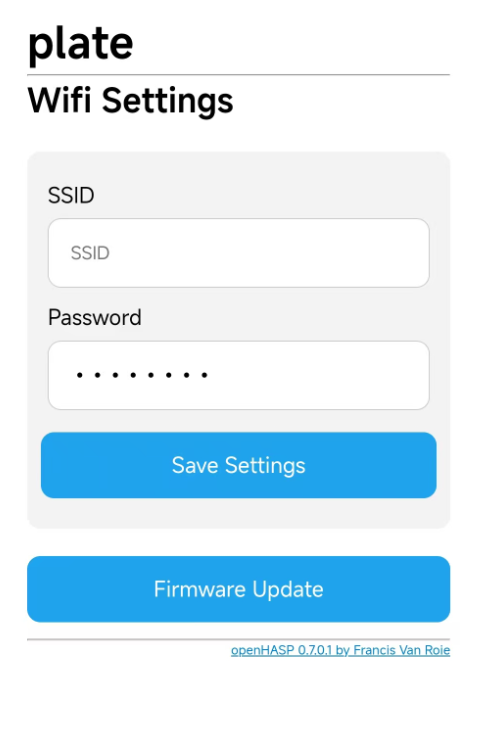
- On‑device configuration: Simply tap the screen and enter the Wi‑Fi credentials directly on the screen.
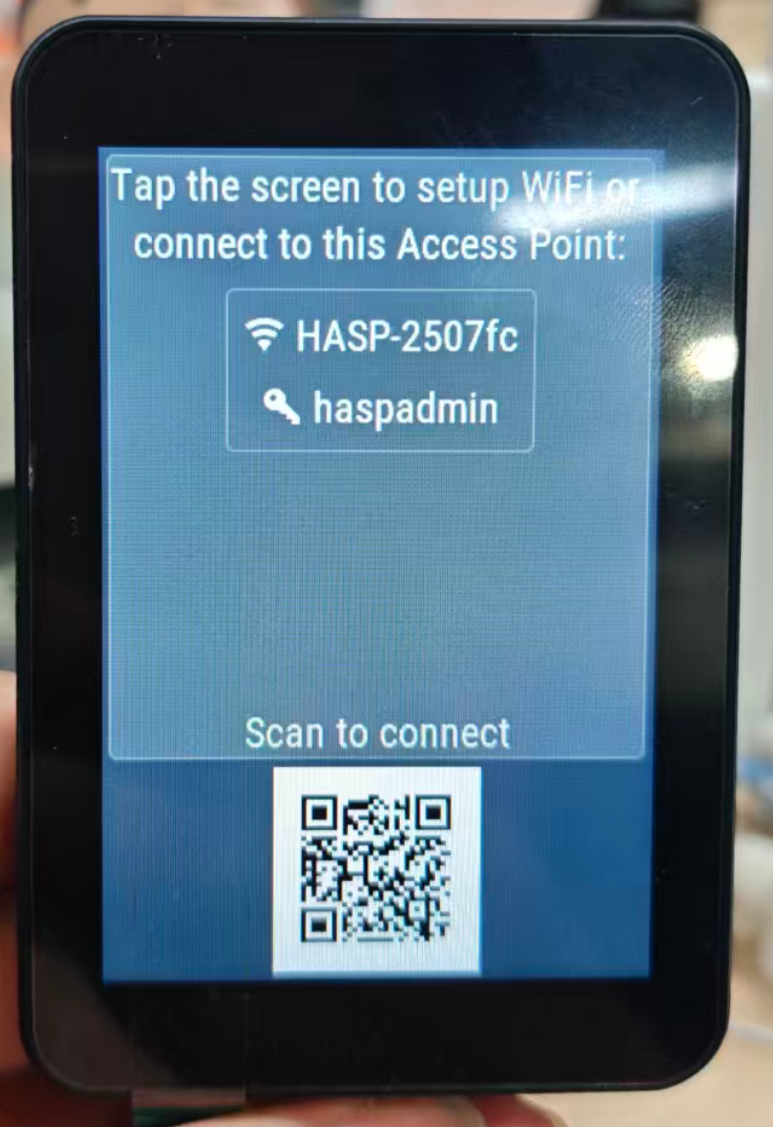
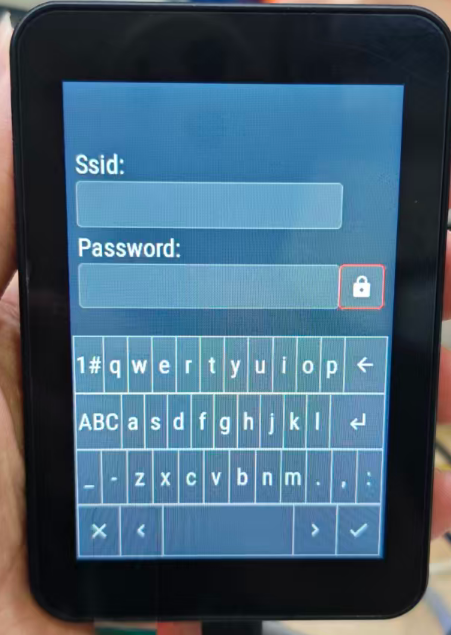
- AP hotspot configuration: The device displays its AP name and password. Connect to the hotspot and then configure the Wi‑Fi via a web page to complete the setup.
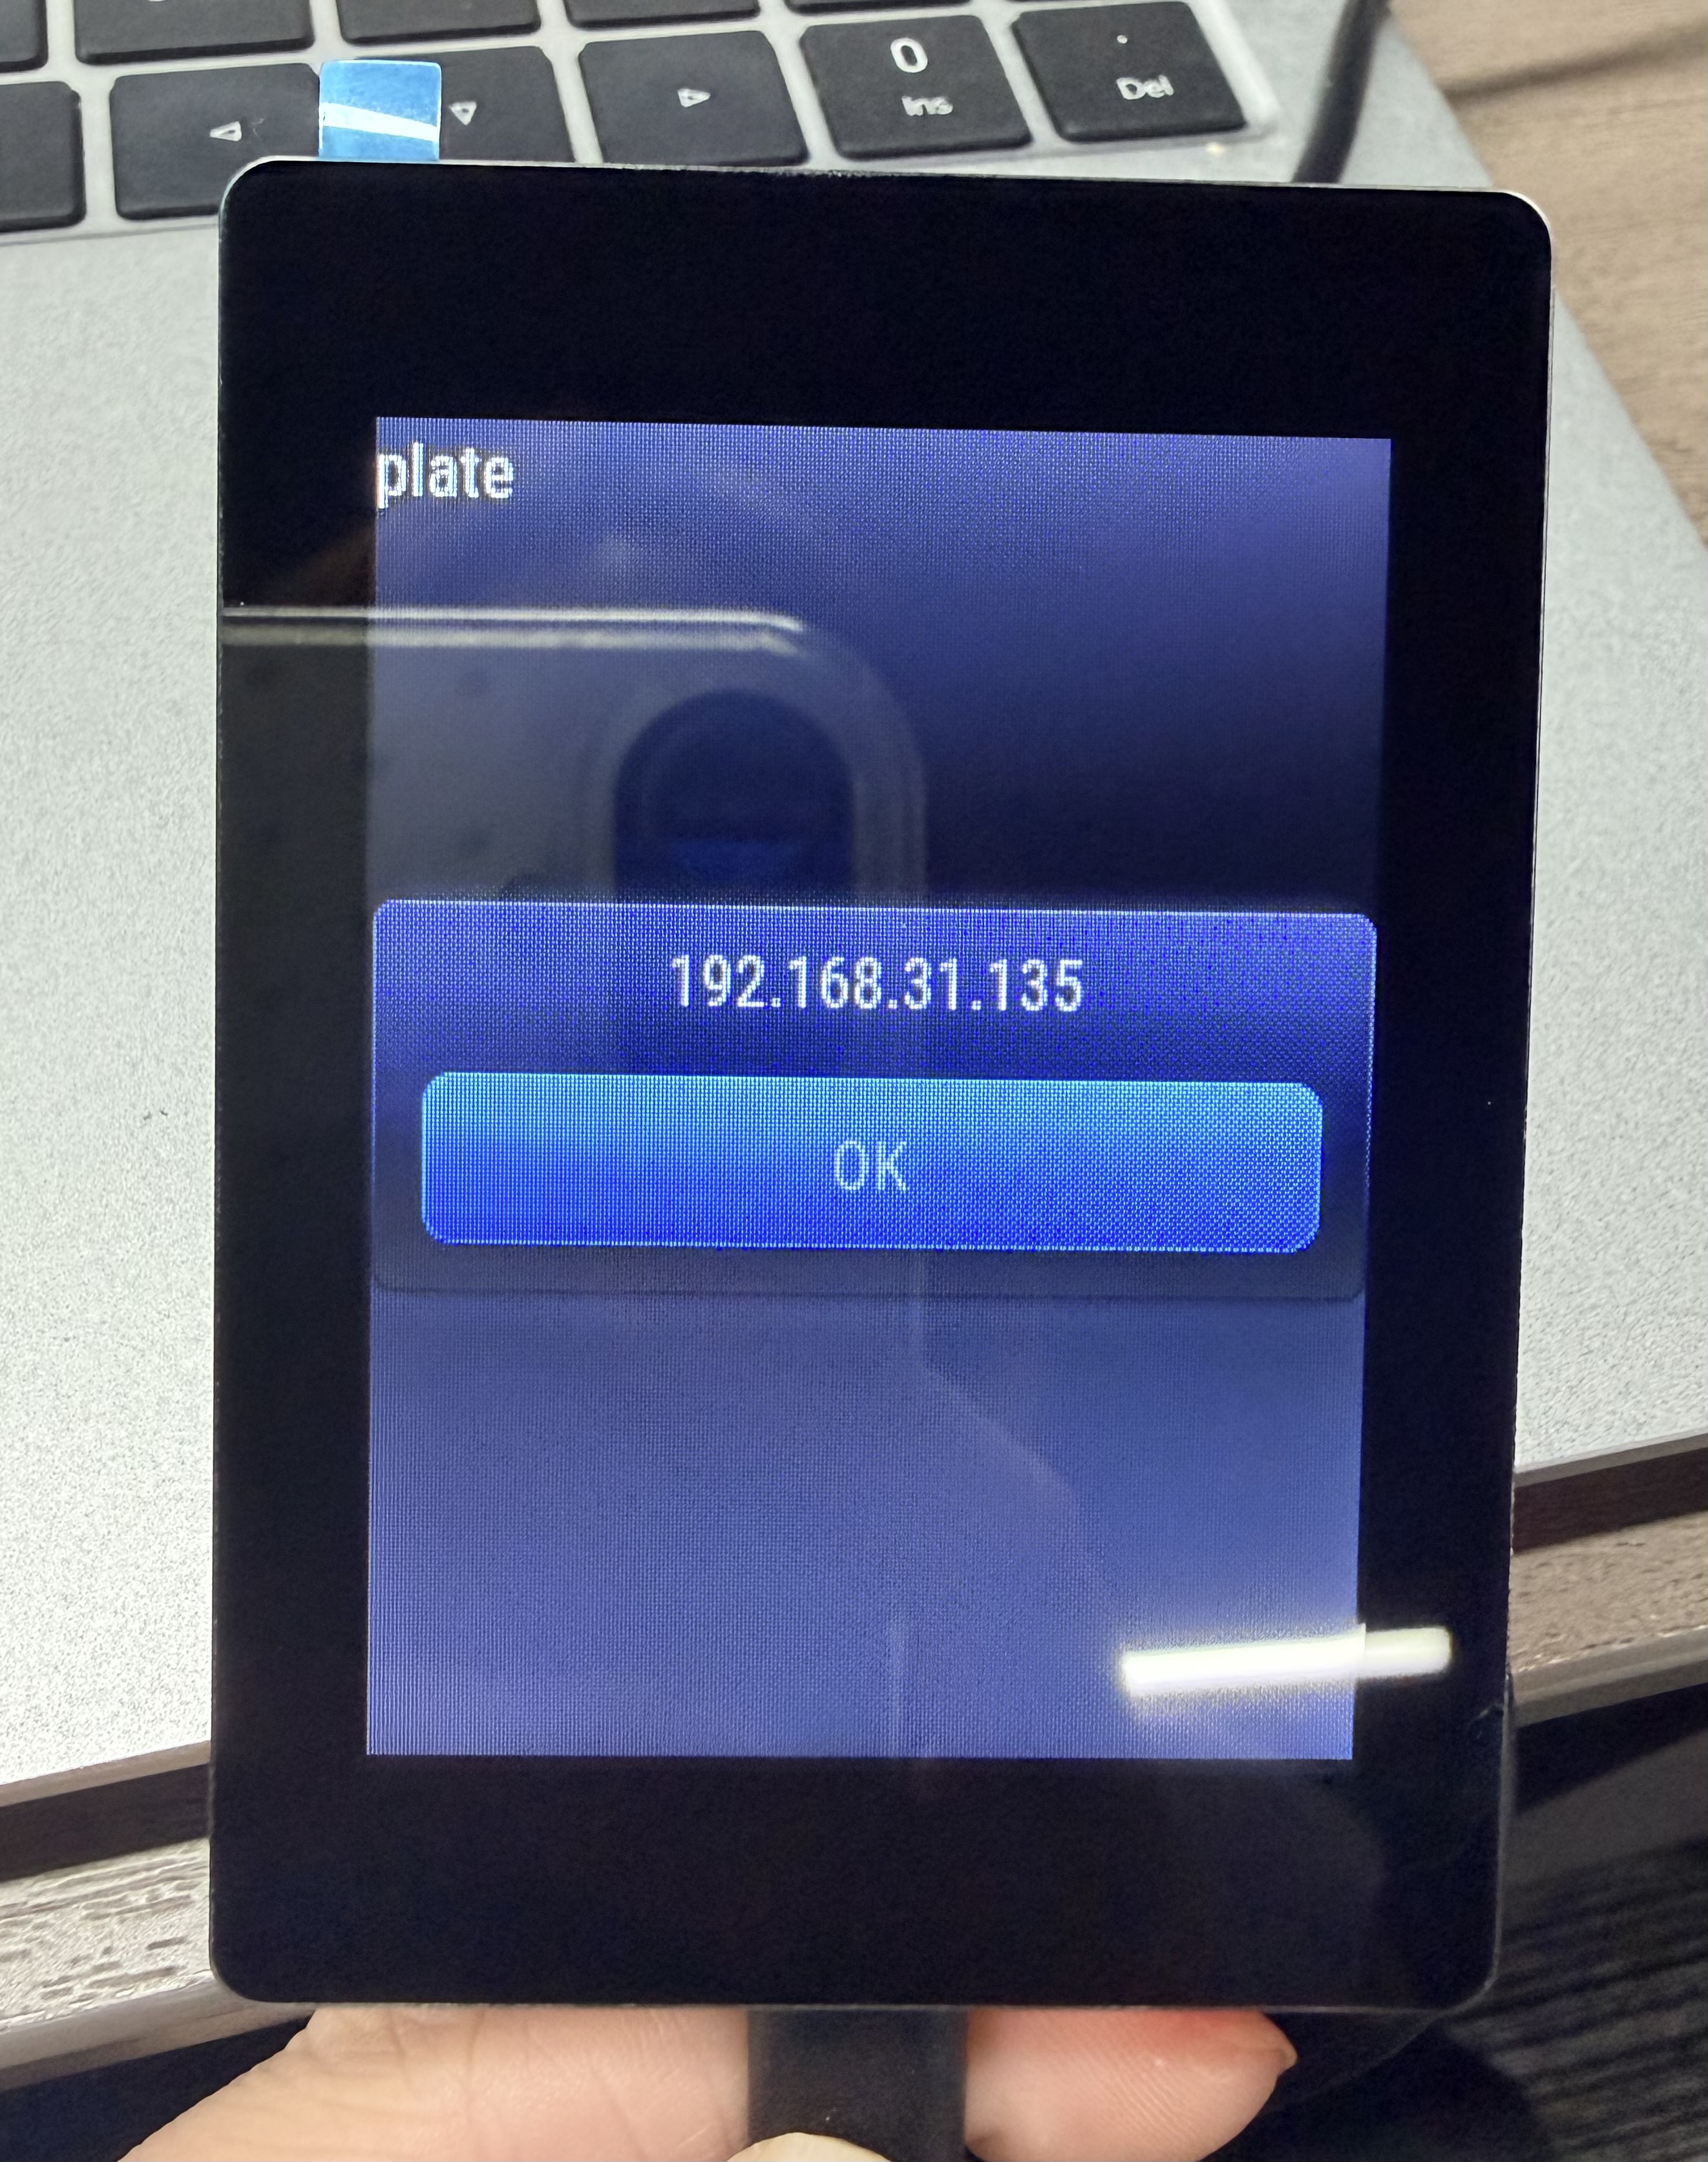
Once the network is configured, the device will display its assigned IP address at every boot, making it easy to access later.
Device Web Backend
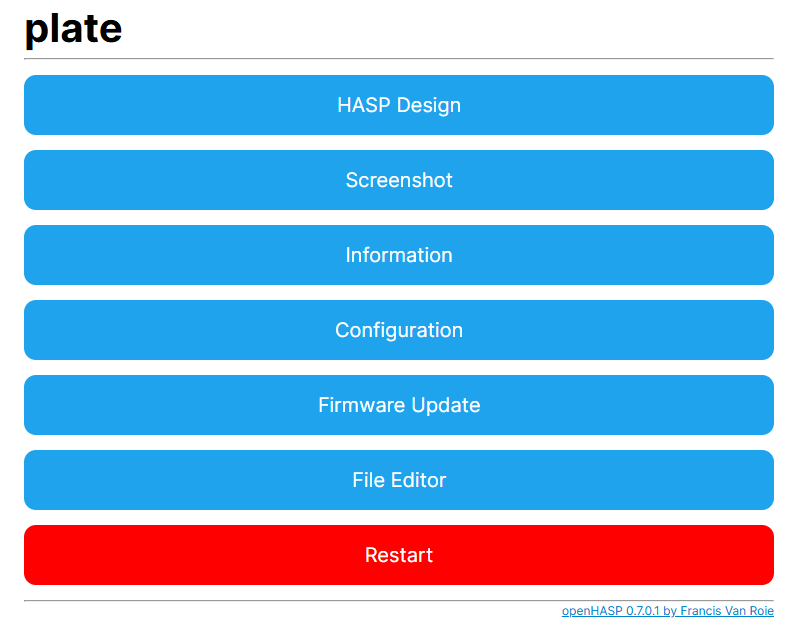
After network configuration is complete, enter the IP address shown on the device into your browser to access the web management backend. The backend mainly offers the following features:
| Function | Description |
|---|
| HASP Design | Upload and edit page layout JSON files online. |
| Screenshot | Take and save a screenshot of the current UI preview. |
| Information | View device status and MQTT connection status. |
| Configuration | Configure Wi‑Fi, MQTT, HTTP, and other connection settings. |
| Firmware Update | Perform online OTA upgrades. |
| File Editor | A simple file management system that allows uploading resource files and modifying page layouts in real time via the web. |
Integrating with Home Assistant
Install and Configure HACS
Before integrating openHASP into Home Assistant, you need to install HACS (Home Assistant Community Store).
*Detailed tutorial:__ https://hacs.xyz/docs/use/configuration/basic/
- Install HACS: Go to Home Assistant → Settings → App, click [App Store], and add the repository URL:
https://github.com/hacs/addons
- Configure HACS: Go to Home Assistant → Devices & Services → Add Integration, search for HACS, and complete the GitHub authentication:
Click the link and enter the verification code shown in Home Assistant: https://github.com/login/device
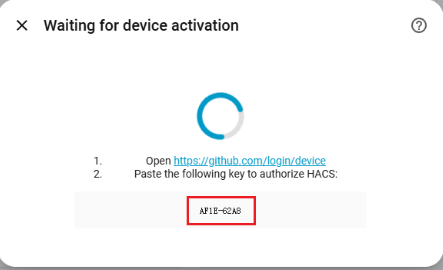
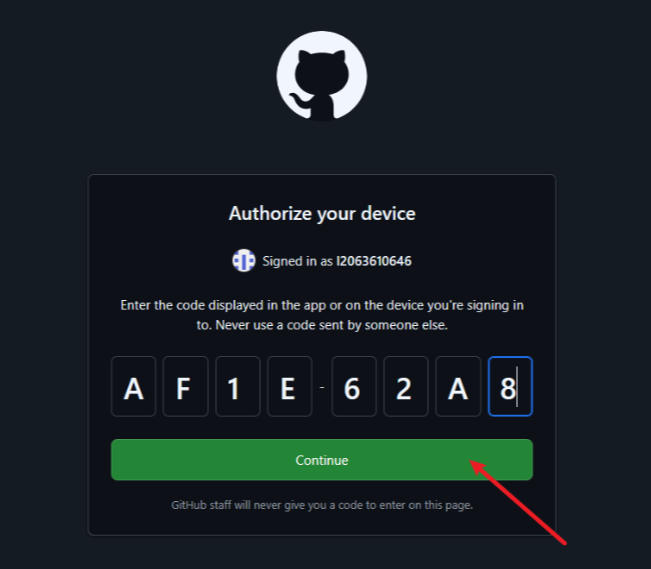
After completing the above steps, HACS installation is finished.
Install the openHASP Integration
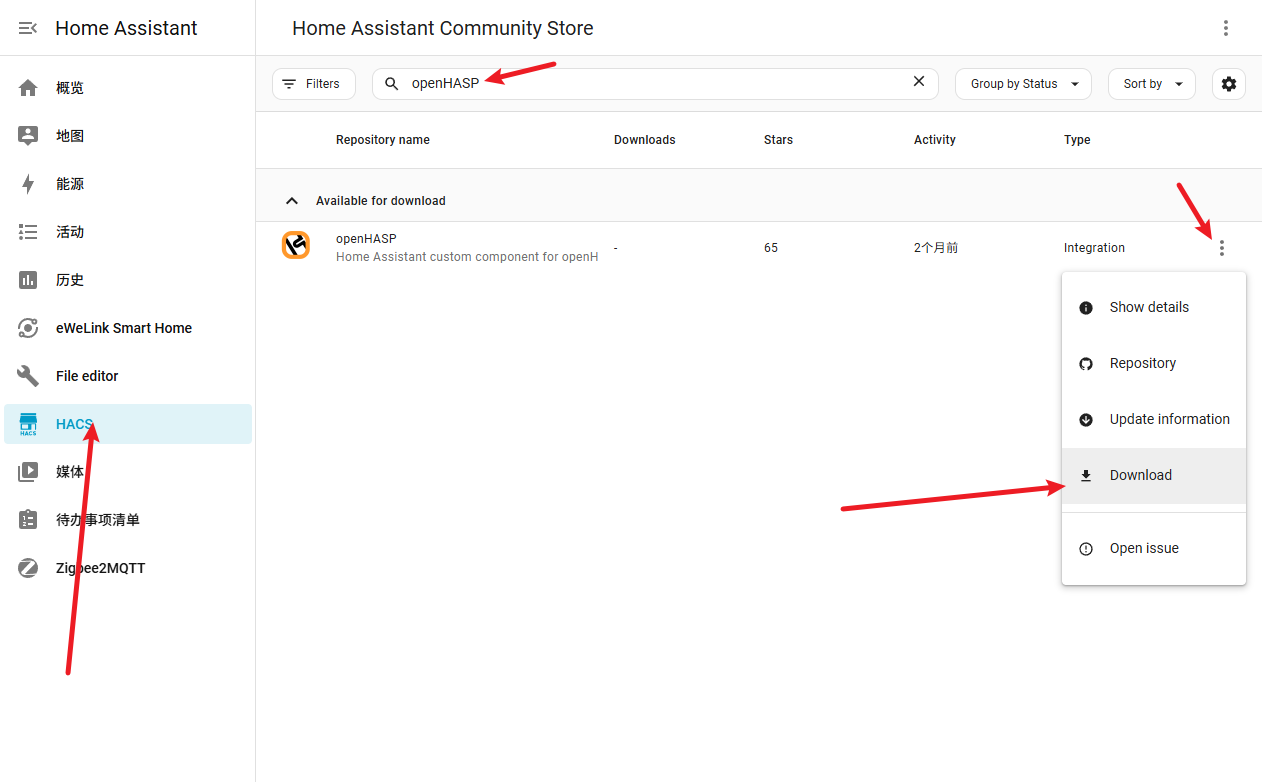
Search for the openHASP integration in HACS and install it, then restart Home Assistant.
Configure the MQTT Broker
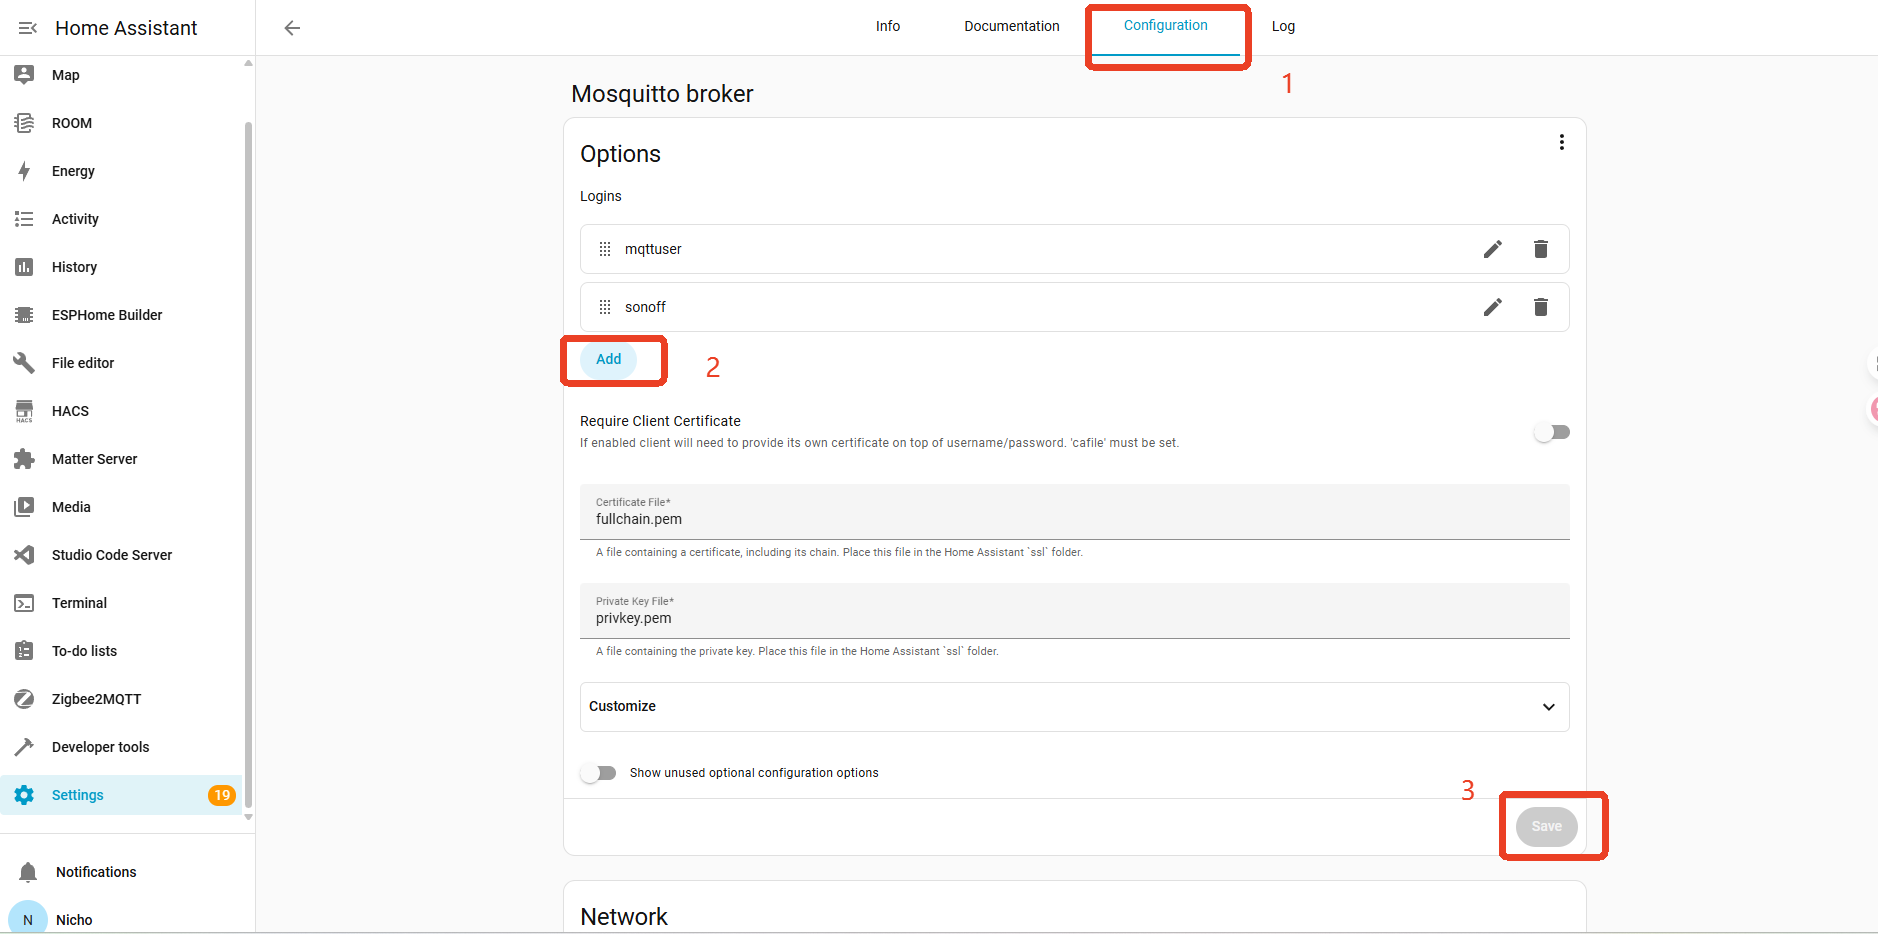
openHASP relies on MQTT to communicate with Home Assistant. You need to configure it in Home Assistant:
- Go to the Add‑on Store and install the MQTT Broker.
- Create a dedicated MQTT user for the openHASP device.
*Remember to note the port number at the bottom of the MQTT user configuration.
Device Onboarding
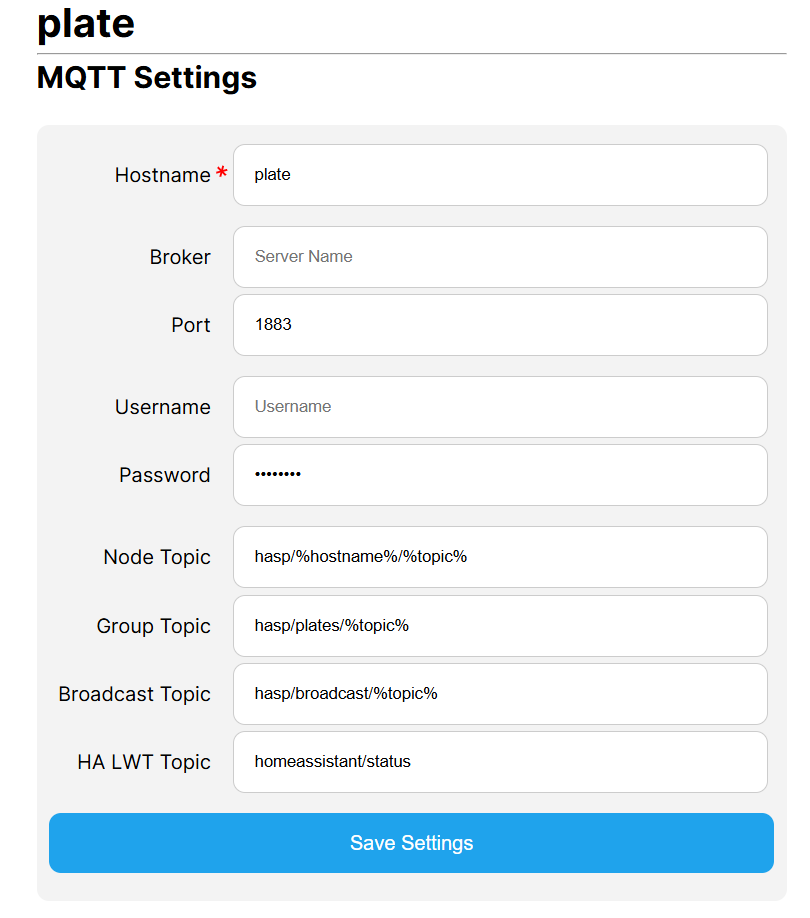
In the openHASP device web backend, go to Settings → MQTT Settings and fill in the following:
- Broker: IP address or hostname of the MQTT Broker.
- Port: Usually 1883.
- Username / Password: Enter if your Broker requires authentication.
- Hostname: Choose a unique name for this panel, e.g.,
livingroom_panel.
After configuration, restart the device. The openHASP device will then be automatically discovered in Home Assistant.
openHASP and Home Assistant must be on the same local network for discovery to work.
💡 Tip: If the device entity status does not appear correctly, check the MQTT connection status on the openHASP integration configuration page. After configuration, a restart is required (Main Menu → Restart).
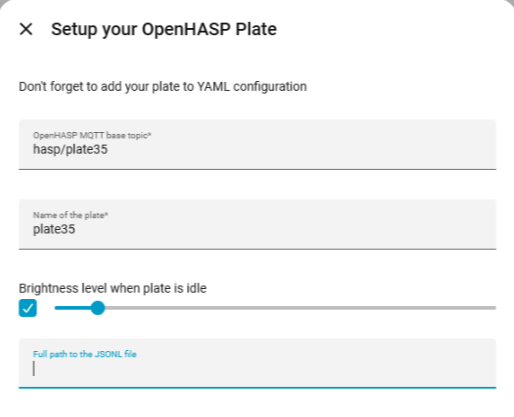
Configuring Home Assistant Entities
Configuring the UI
First, you need to set up a UI layout containing components in the device web backend under “File Editor”.
For example, display an icon for a light.
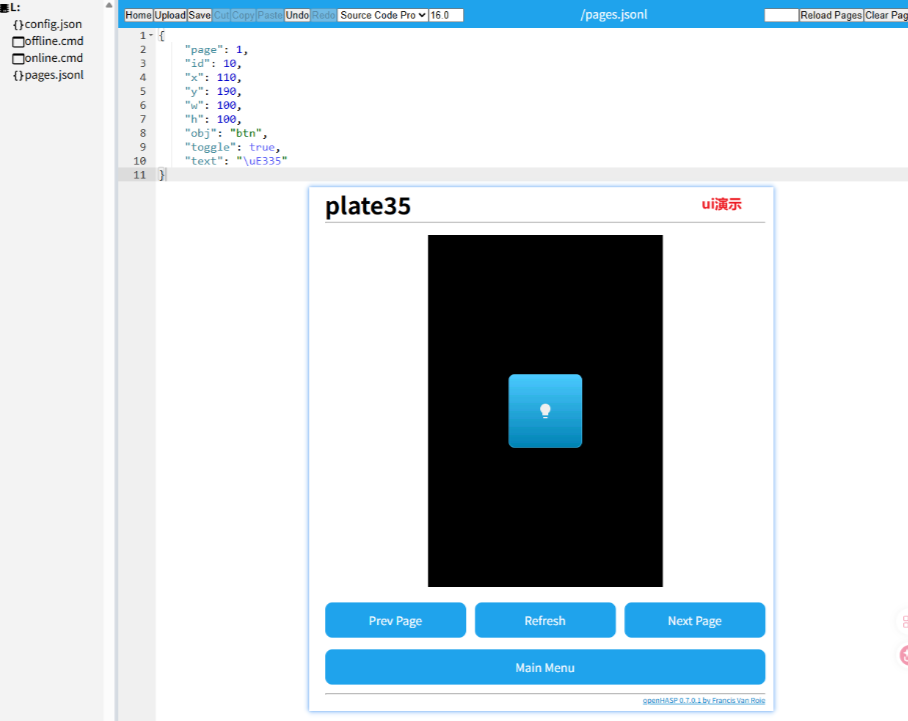
{
     "page": 1,
     "id": 10,
     "x": 110,
     "y": 190,
     "w": 100,
     "h": 100,
     "obj": "btn",
     "toggle": true,
     "text": "\uE335"
}
Editing Events
To make the panel components functional, you need to configure control events for them – for example, triggering on/off actions when a button is pressed or released.
There are three ways to edit automation events for components:
- openHASP Integration – Configure the JSON file containing control events in the device web backend under “File Editor”.
- Automations – Create automations in Home Assistant by entering YAML scripts that define the control events, referencing the same logic as used in the File Editor.
- Node‑Red – Configure events using Node‑Red.
For detailed instructions, see the official documentation: How-To - openHASP