Which Bambu Lab printer models does PrintSphere support?
It supports most Bambu Lab models, including: A1, A1 Mini, A2L, P1P, P1S, P2S, H2C, H2D, H2D Pro, H2S, X1, X1C, X1E, and X2D.
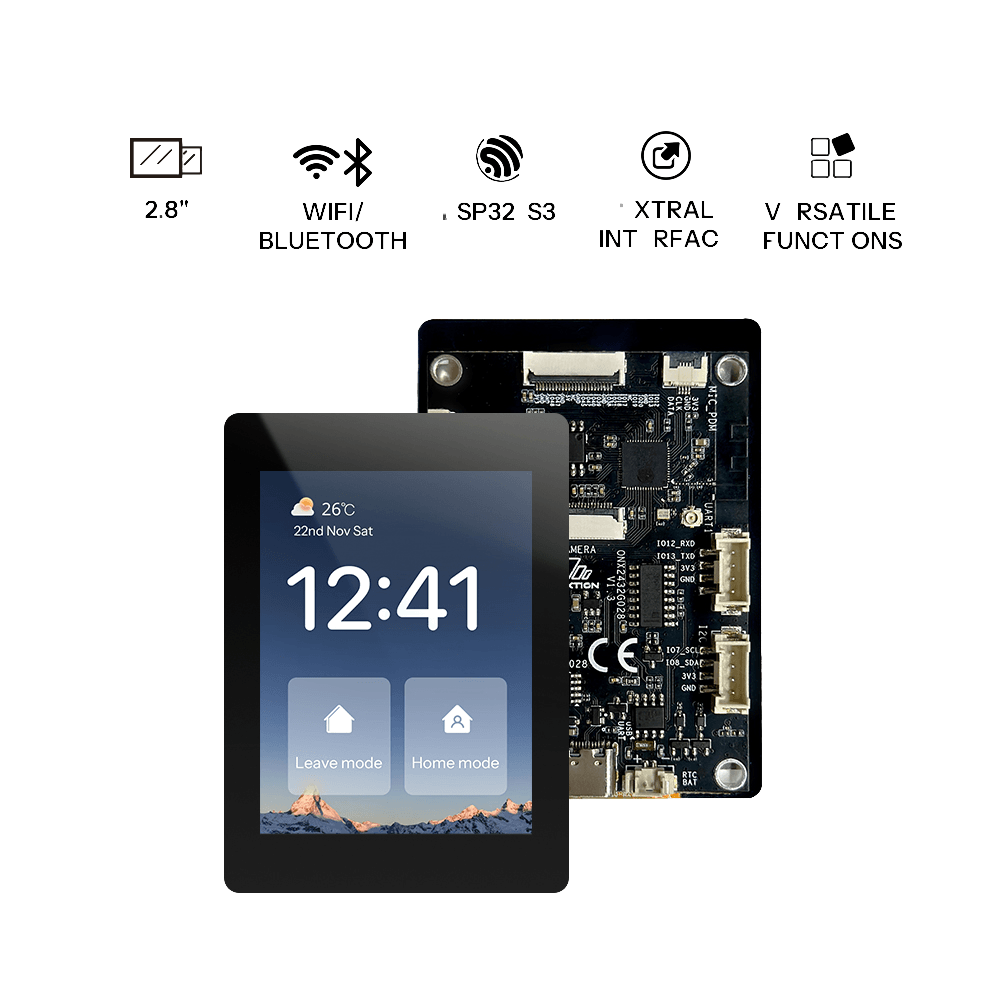
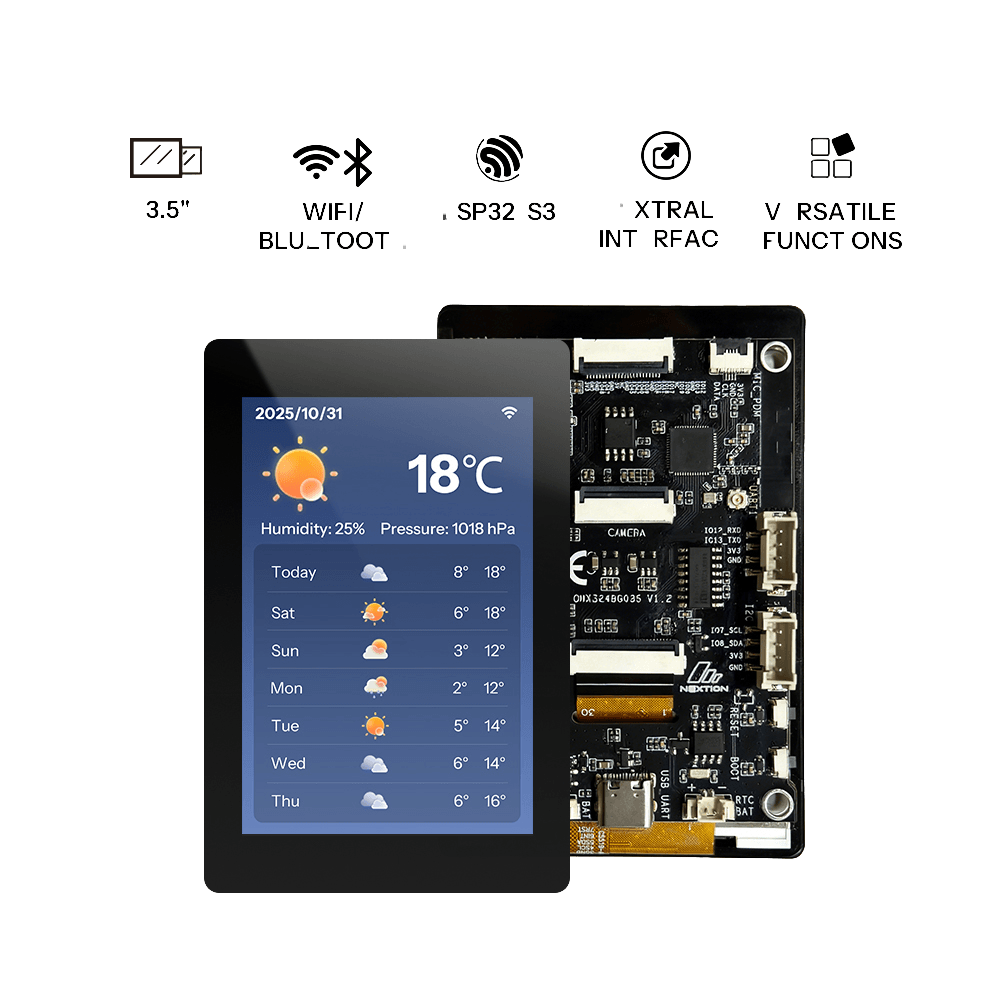
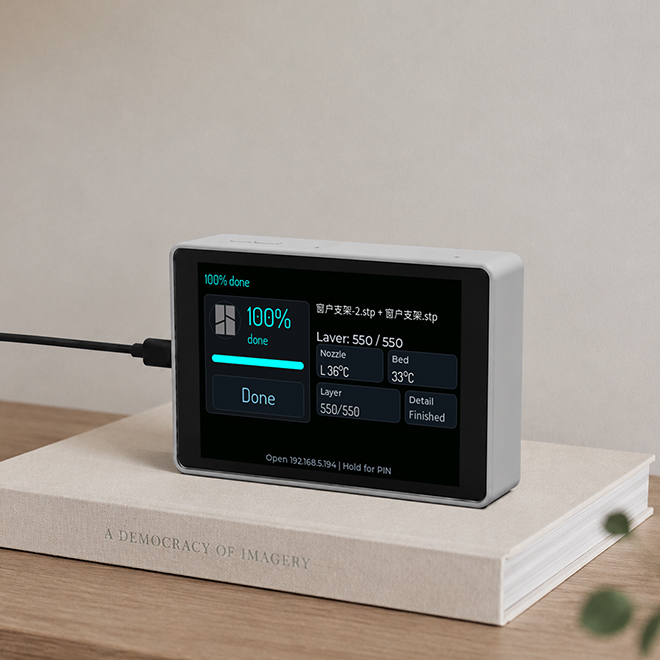
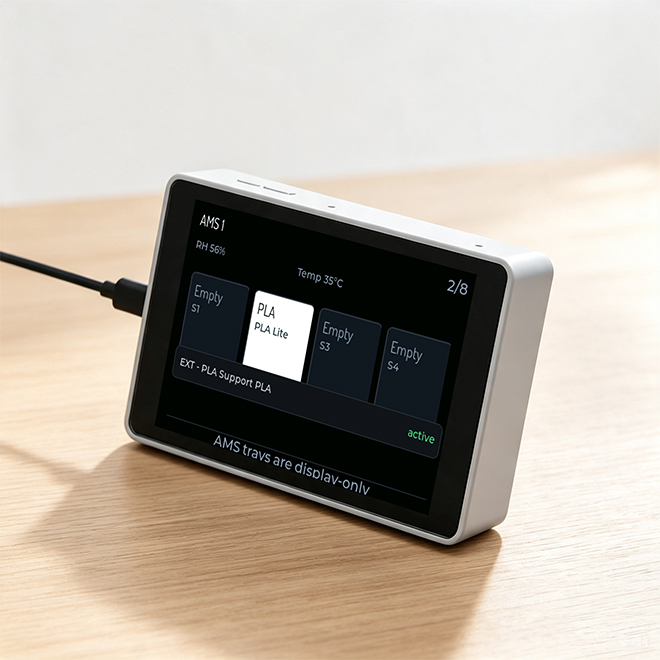
PrintSphere’s powerful 3D printing management is now seamlessly ported to the OpenNextion ESP32‑S3 display – a dedicated dashboard for your Bambu Lab printer. Print progress, temperature curves, filament levels, and live camera feed are all at a glance. No more phone unlocks or app hunting – just glance at your desktop screen and stay focused on what truly matters: your creativity.
| Feature | Description |
|---|---|
| Real‑time Monitoring | Print progress, remaining time, layer count, temperature, AMS and external spool status, cloud cover preview, and project name. |
| Remote Control | Local JPEG camera preview, pause/resume/stop print, chamber light control. |
| Multi‑Printer Management | Multiple printer profiles with live switching. |
| Error Diagnosis | Displays Bambu HMS and device error descriptions for quick issue identification. |
| Personalization | Screen rotation, status colors, battery‑aware dimming/screen‑off, custom sound notifications (WAV upload supported). |
Before starting, ensure the USB cable supports data transfer and maintain a stable connection between the board and your computer.
After successful flashing, the board will automatically restart and boot into PrintSphere.
Connect your computer to the device's hotspot, then open the IP address displayed on the screen and enter your 2.4 GHz Wi‑Fi SSID and password to complete provisioning:
PrintSphere-Setupprintspherehttp://192.168.4.1After entering your 2.4 GHz Wi‑Fi SSID and password, the device will restart and complete provisioning.
*During provisioning, keep your computer connected to the device hotspot.
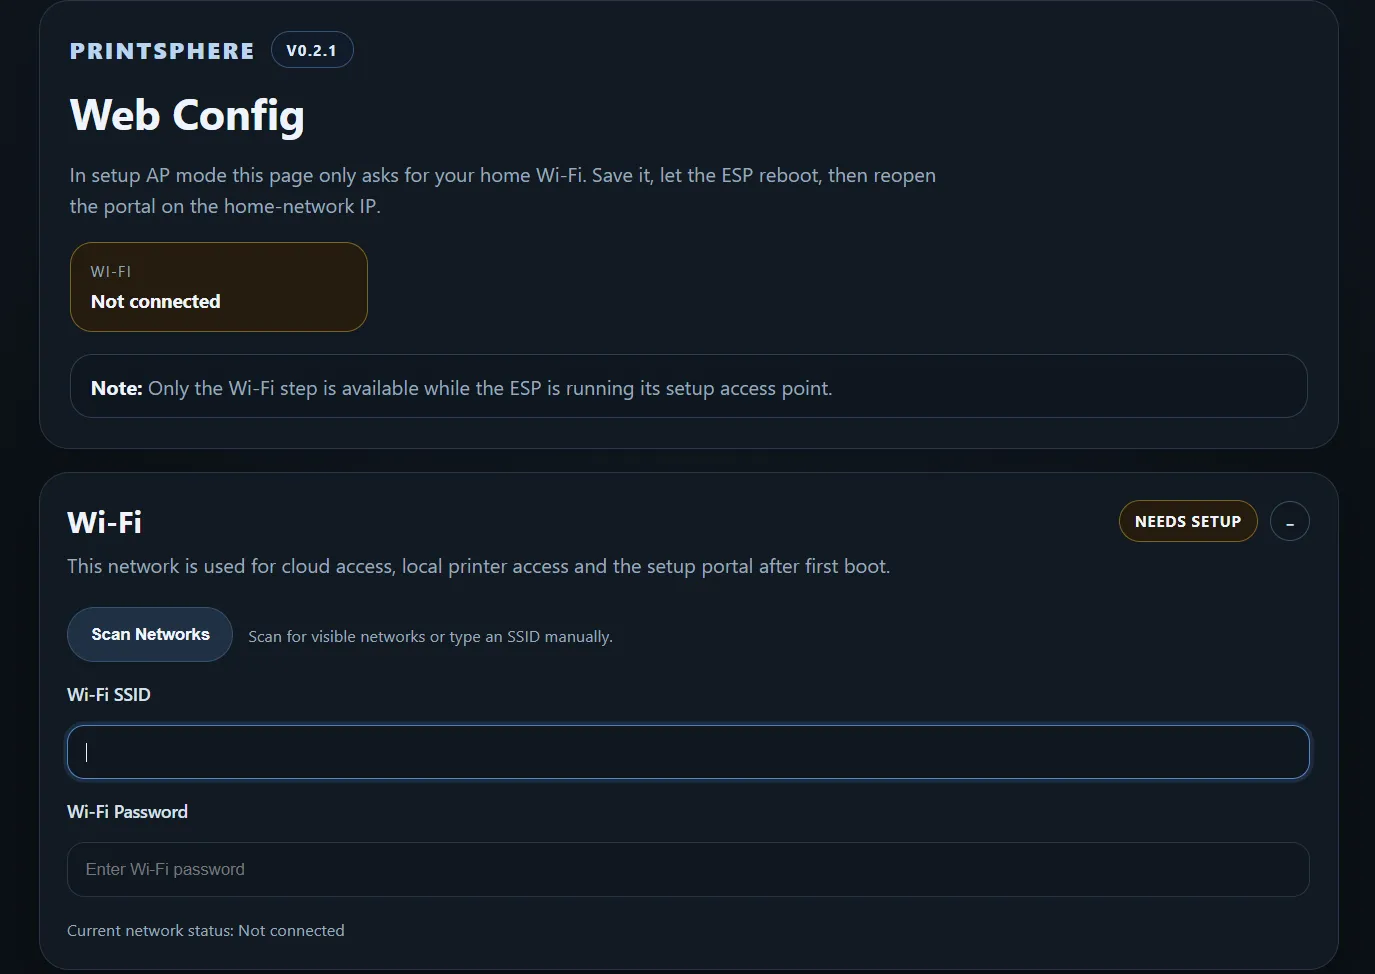
After the device is provisioned, it will be assigned a new IP address. Connect your computer to the same 2.4 GHz Wi‑Fi network, open the Web configuration page, and enter the printer information.
http://[newly assigned IP]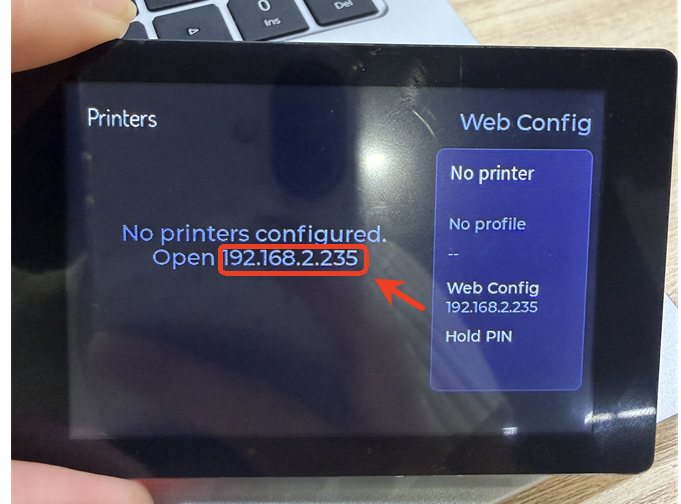
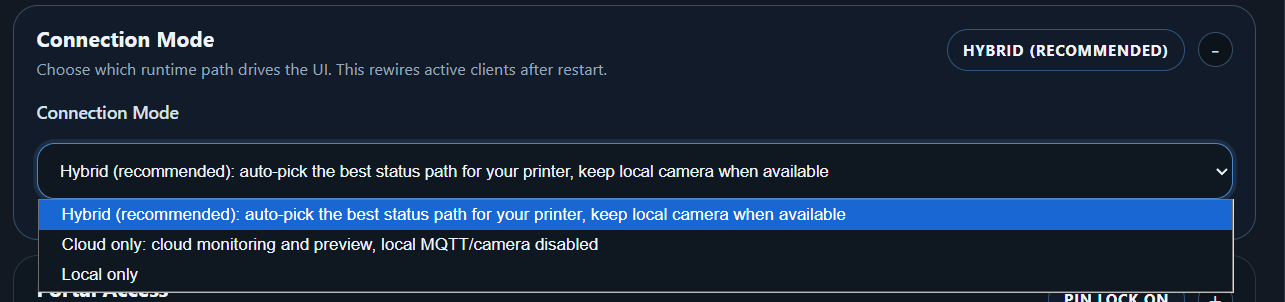
*Note: If only a local connection is used, the connection mode must be set to "Local only" accordingly; otherwise, the printer information will not be displayed on the screen.
| Selection | Description |
|---|---|
| Configure WiFi | Change WiFi settings and modify radar center latitude/longitude coordinates |
| Info | View device and connected WiFi information; also allows firmware upgrade or erasing WiFi configuration |
| Exit | Exit the configuration page. The screen will then display: "WiFi connection failed, press and hold BOOT button for 3s to factory reset" |
| Update | Upload a .bin file for firmware upgrade |
| Bambu Cloud | Enter your cloud‑bound printer account details to enable cloud connection. |
| Local Printer Path | Enter printer IP, serial number, and other info for local connection. |
| Device Settings | Configure device‑related settings. |
It supports most Bambu Lab models, including: A1, A1 Mini, A2L, P1P, P1S, P2S, H2C, H2D, H2D Pro, H2S, X1, X1C, X1E, and X2D.
No. Local JPEG camera snapshots are supported on A1, A1 Mini, A2L, P1P, and P1S. For P2S, H‑series, X1‑series, and X2D, they use RTSP video streams, which the ESP32‑S3 cannot decode. Therefore, real‑time camera feed is not available, but cloud cover previews can still be displayed.
The H‑series and X2D printers require Developer Mode to be enabled in order to retrieve local printer status.
A configured PrintSphere device supports OTA updates, which preserve Wi‑Fi credentials, printer configurations, and display settings. To update, either upload the .bin firmware file via the web configuration page, or enter the firmware URL hosted on GitHub.
After initial setup, you can lock the Web Config page with a temporary six‑digit PIN. Once the configuration page is locked, simply press and hold the device screen for one second, and a PIN will be generated and displayed on the screen.