OpenNextion
Disconnected
Back to List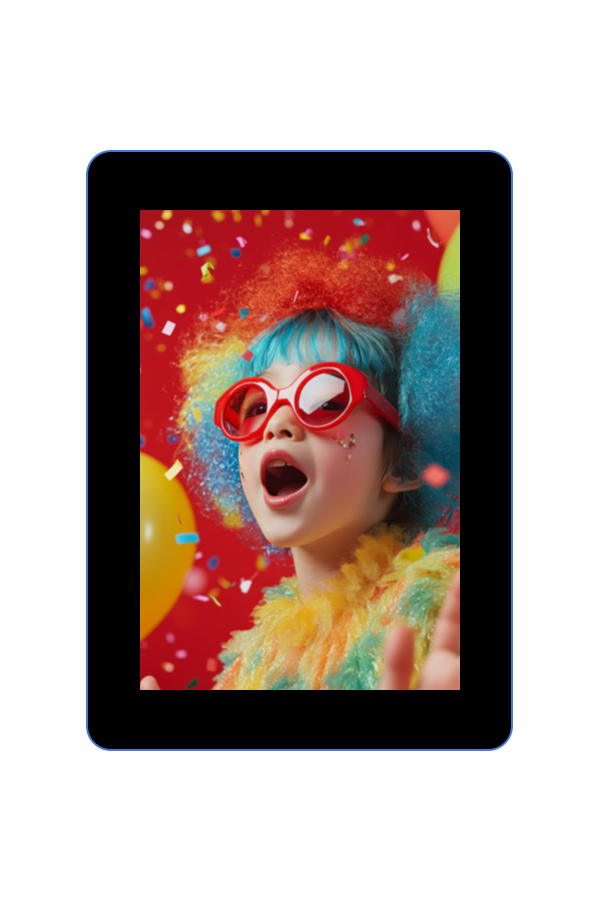
OfficialFactory DemoMicroSDImage
SD Card Image Test Demo
OpenNextion 2.8" and 3.5" devices read images from an SD card and display them for browsing on the screen.
Preview
Hardware Requirements
Development Boards
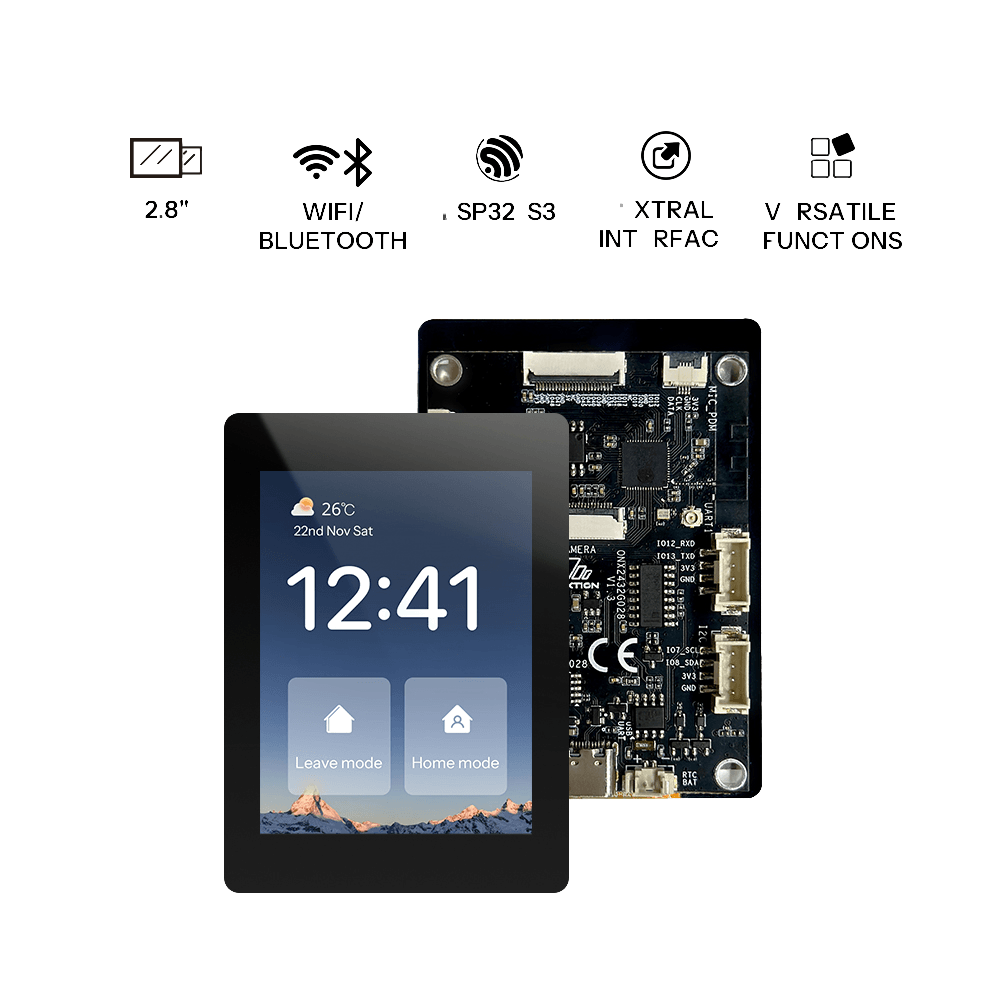
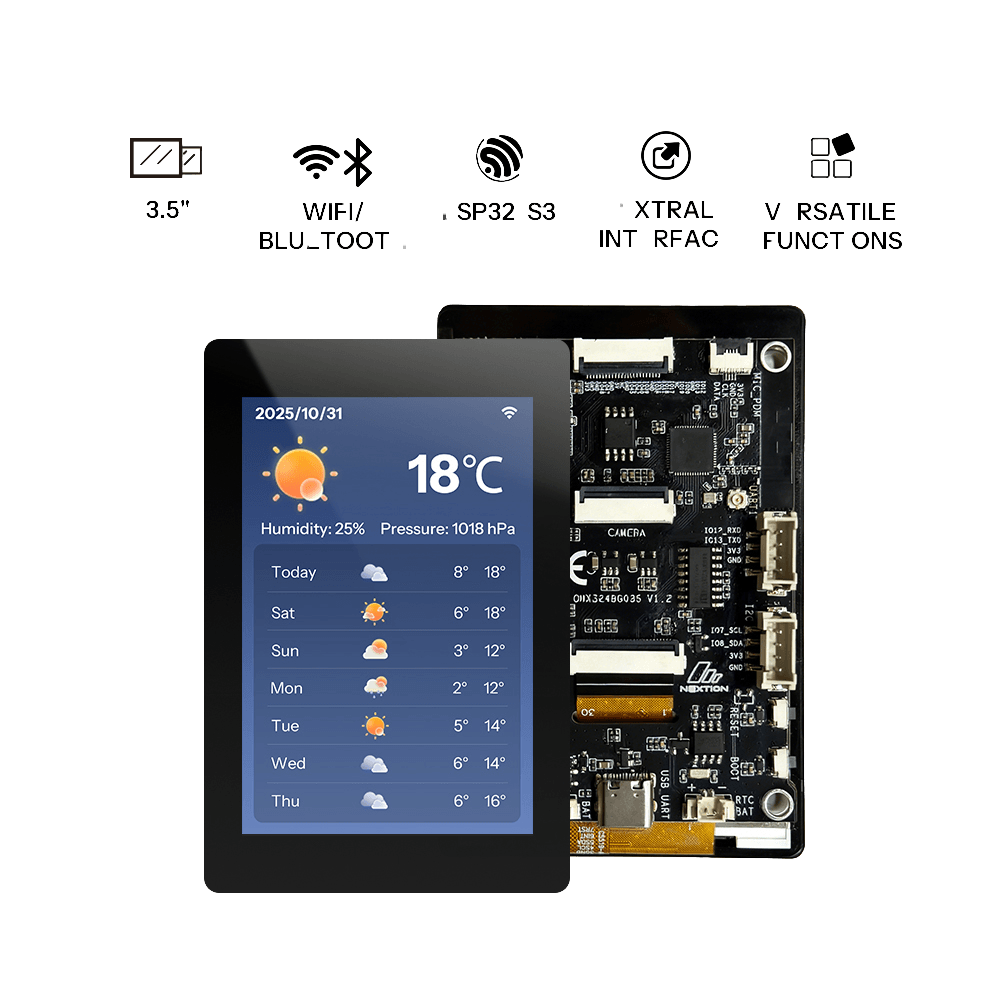
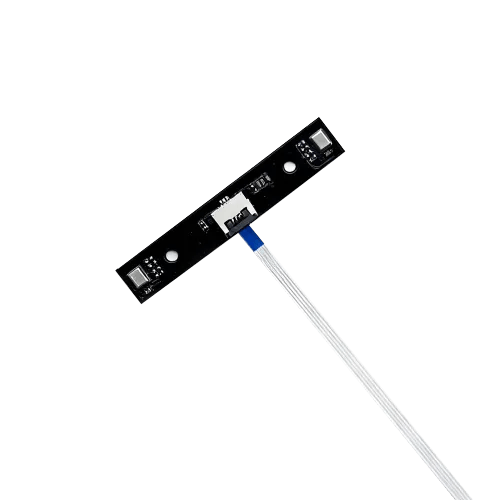
Accessories
Getting Started
Preparation
- 1 × supported OpenNextion ESP32-S3 smart display
- 1 × USB data cable
- 1 × microSD Card
- 1 × Windows/Mac computer
Before starting, ensure the USB cable supports data transfer and maintain a stable connection between the board and your computer.
Flashing the Firmware
- Click Flash Online at the top of the page.
- Select the OpenNextion device model you are using.
- Choose the corresponding serial port when prompted in the browser.
- Wait for erasing, writing, and verification to complete. Do not unplug the USB cable during this process.
After successful flashing, the board will automatically restart.
Operating Instructions
Format the SD card to FAT32. Save the image files (.jpg, .png, .bmp, .bin) in the images folder under the root directory of the SD card (the image resolution should match the screen resolution). Insert the SD card into the device, connect the power supply, and then swipe left or right on the screen to browse through the images.
Resources
FAQ
No content available yet.