Feature Overview
| Feature | Description |
|---|
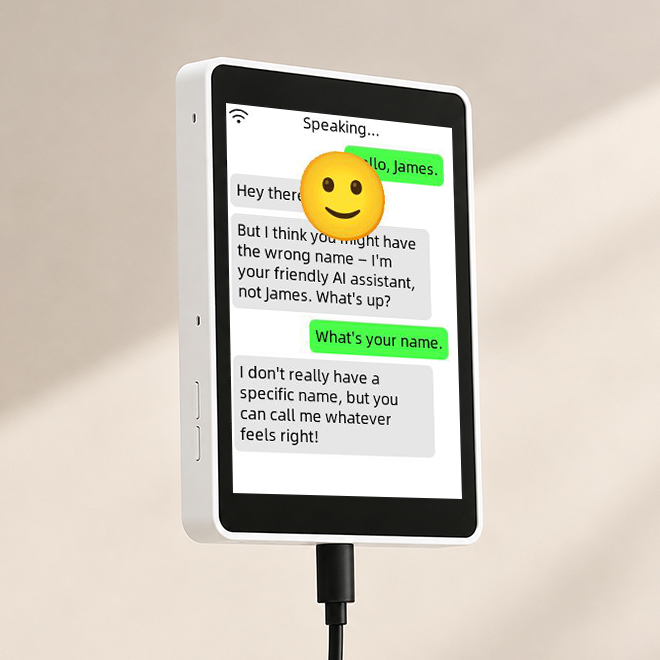
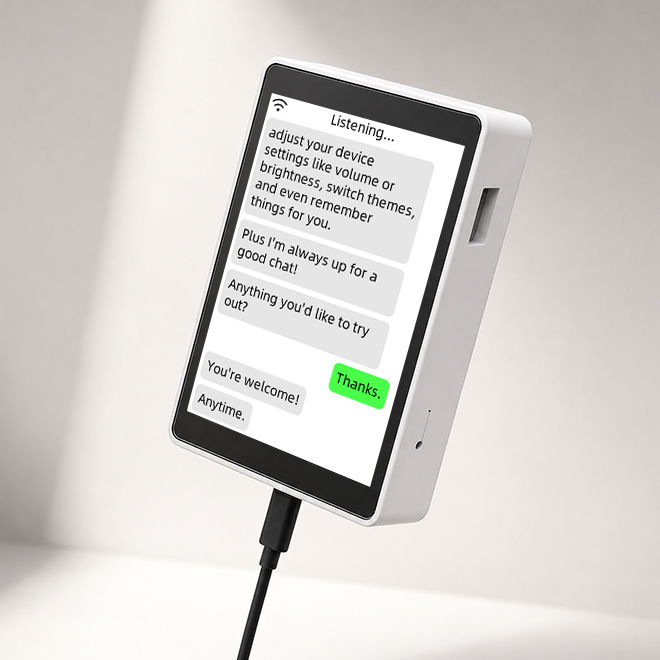
| Voice Conversation | Speak to the device and it will respond to you in real time. |
| AI Large Model Driven | Powered by large models such as Qwen and DeepSeek, delivering natural and intelligent responses. |
| Offline Voice Wake‑Up | Wake the device without an internet connection – fast response and privacy protection. |
| Voice or Touch Wake‑Up | Use the wake word "Hey Jarvis" or tap the screen to wake the XiaoZhi AI assistant for voice interaction. |
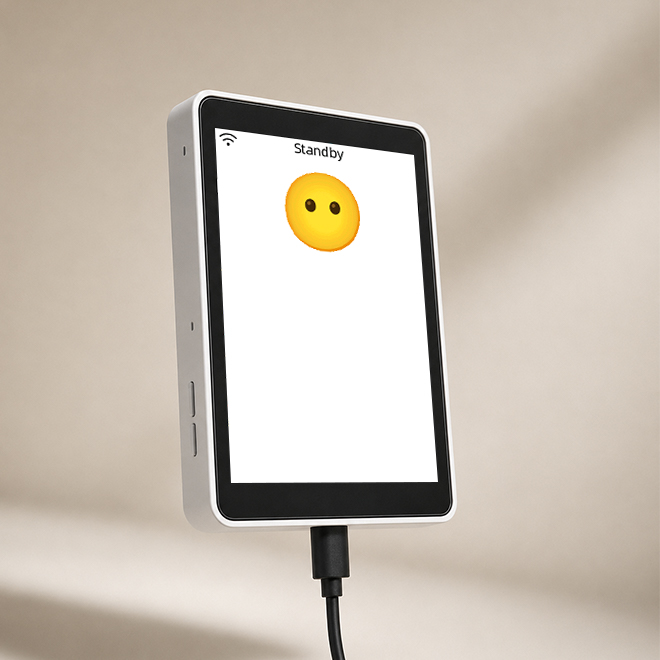
| Emoji Display | The screen shows emojis and status indicators, making interaction more engaging. |
| Multi‑Language Support | Supports Chinese, English, Japanese, and more. |
| Customization | Theme, character language, voice, AI agent, and extensions can all be modified online via the xiaozhi.me platform. |
Operation Instructions
- REST Button – After updating the voice assistant configuration, press the REST button to apply the changes.
- Touch Screen – Toggle the voice assistant between idle and listening states.
Quick Start
Preparation
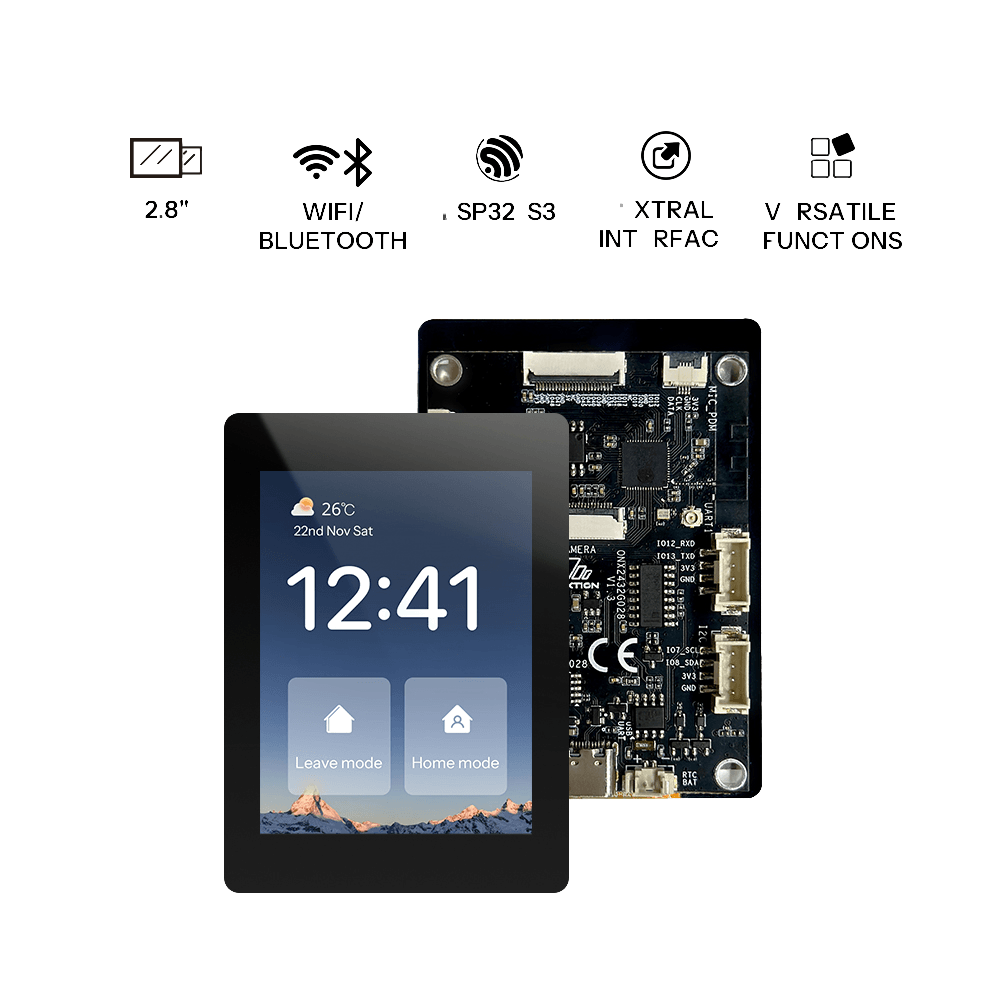
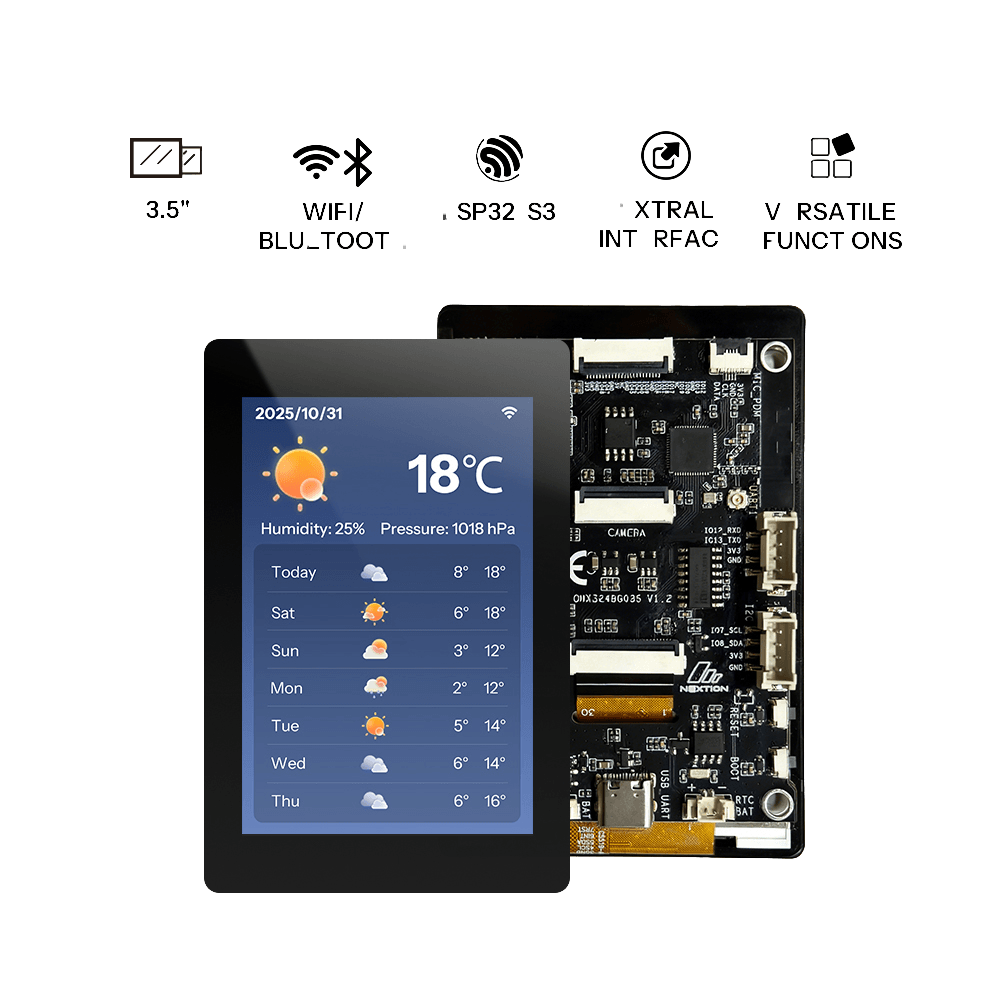
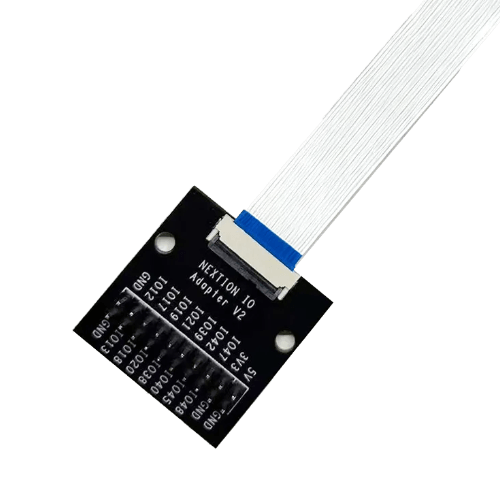
- 1 × supported OpenNextion ESP32‑S3 smart display
- 1 × USB data cable
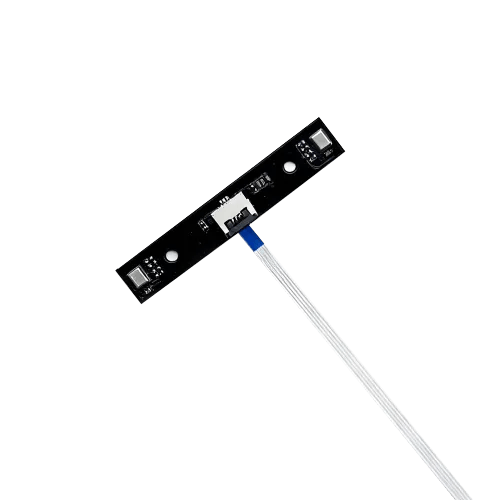
- 1 × microphone module
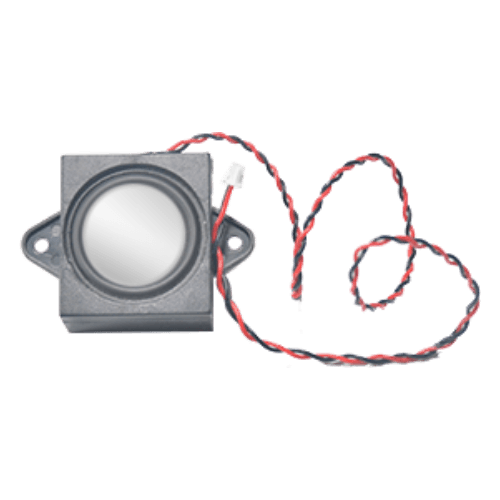
- 1 × speaker module
- 1 × Windows/Mac computer
- 2.4 GHz WiFi network
Note: The ESP32 device provides microphone and speaker interfaces, but these modules are not included and must be obtained separately. You may refer to officially compatible accessories or use other compatible hardware.
Before starting, ensure the USB cable supports data transfer and maintain a stable connection between the board and your computer.
Flashing the Firmware
- Click Flash Online at the top of the page.
- Select the OpenNextion device model you are using.
- Choose the corresponding serial port when prompted in the browser.
- Wait for erasing, writing, and verification to complete. Do not unplug the USB cable during this process.
After successful flashing, the board will automatically restart and boot into the Xiaozhi AI.
Device Wi‑Fi Provisioning
After the device successfully connects to a 2.4 GHz Wi‑Fi network:
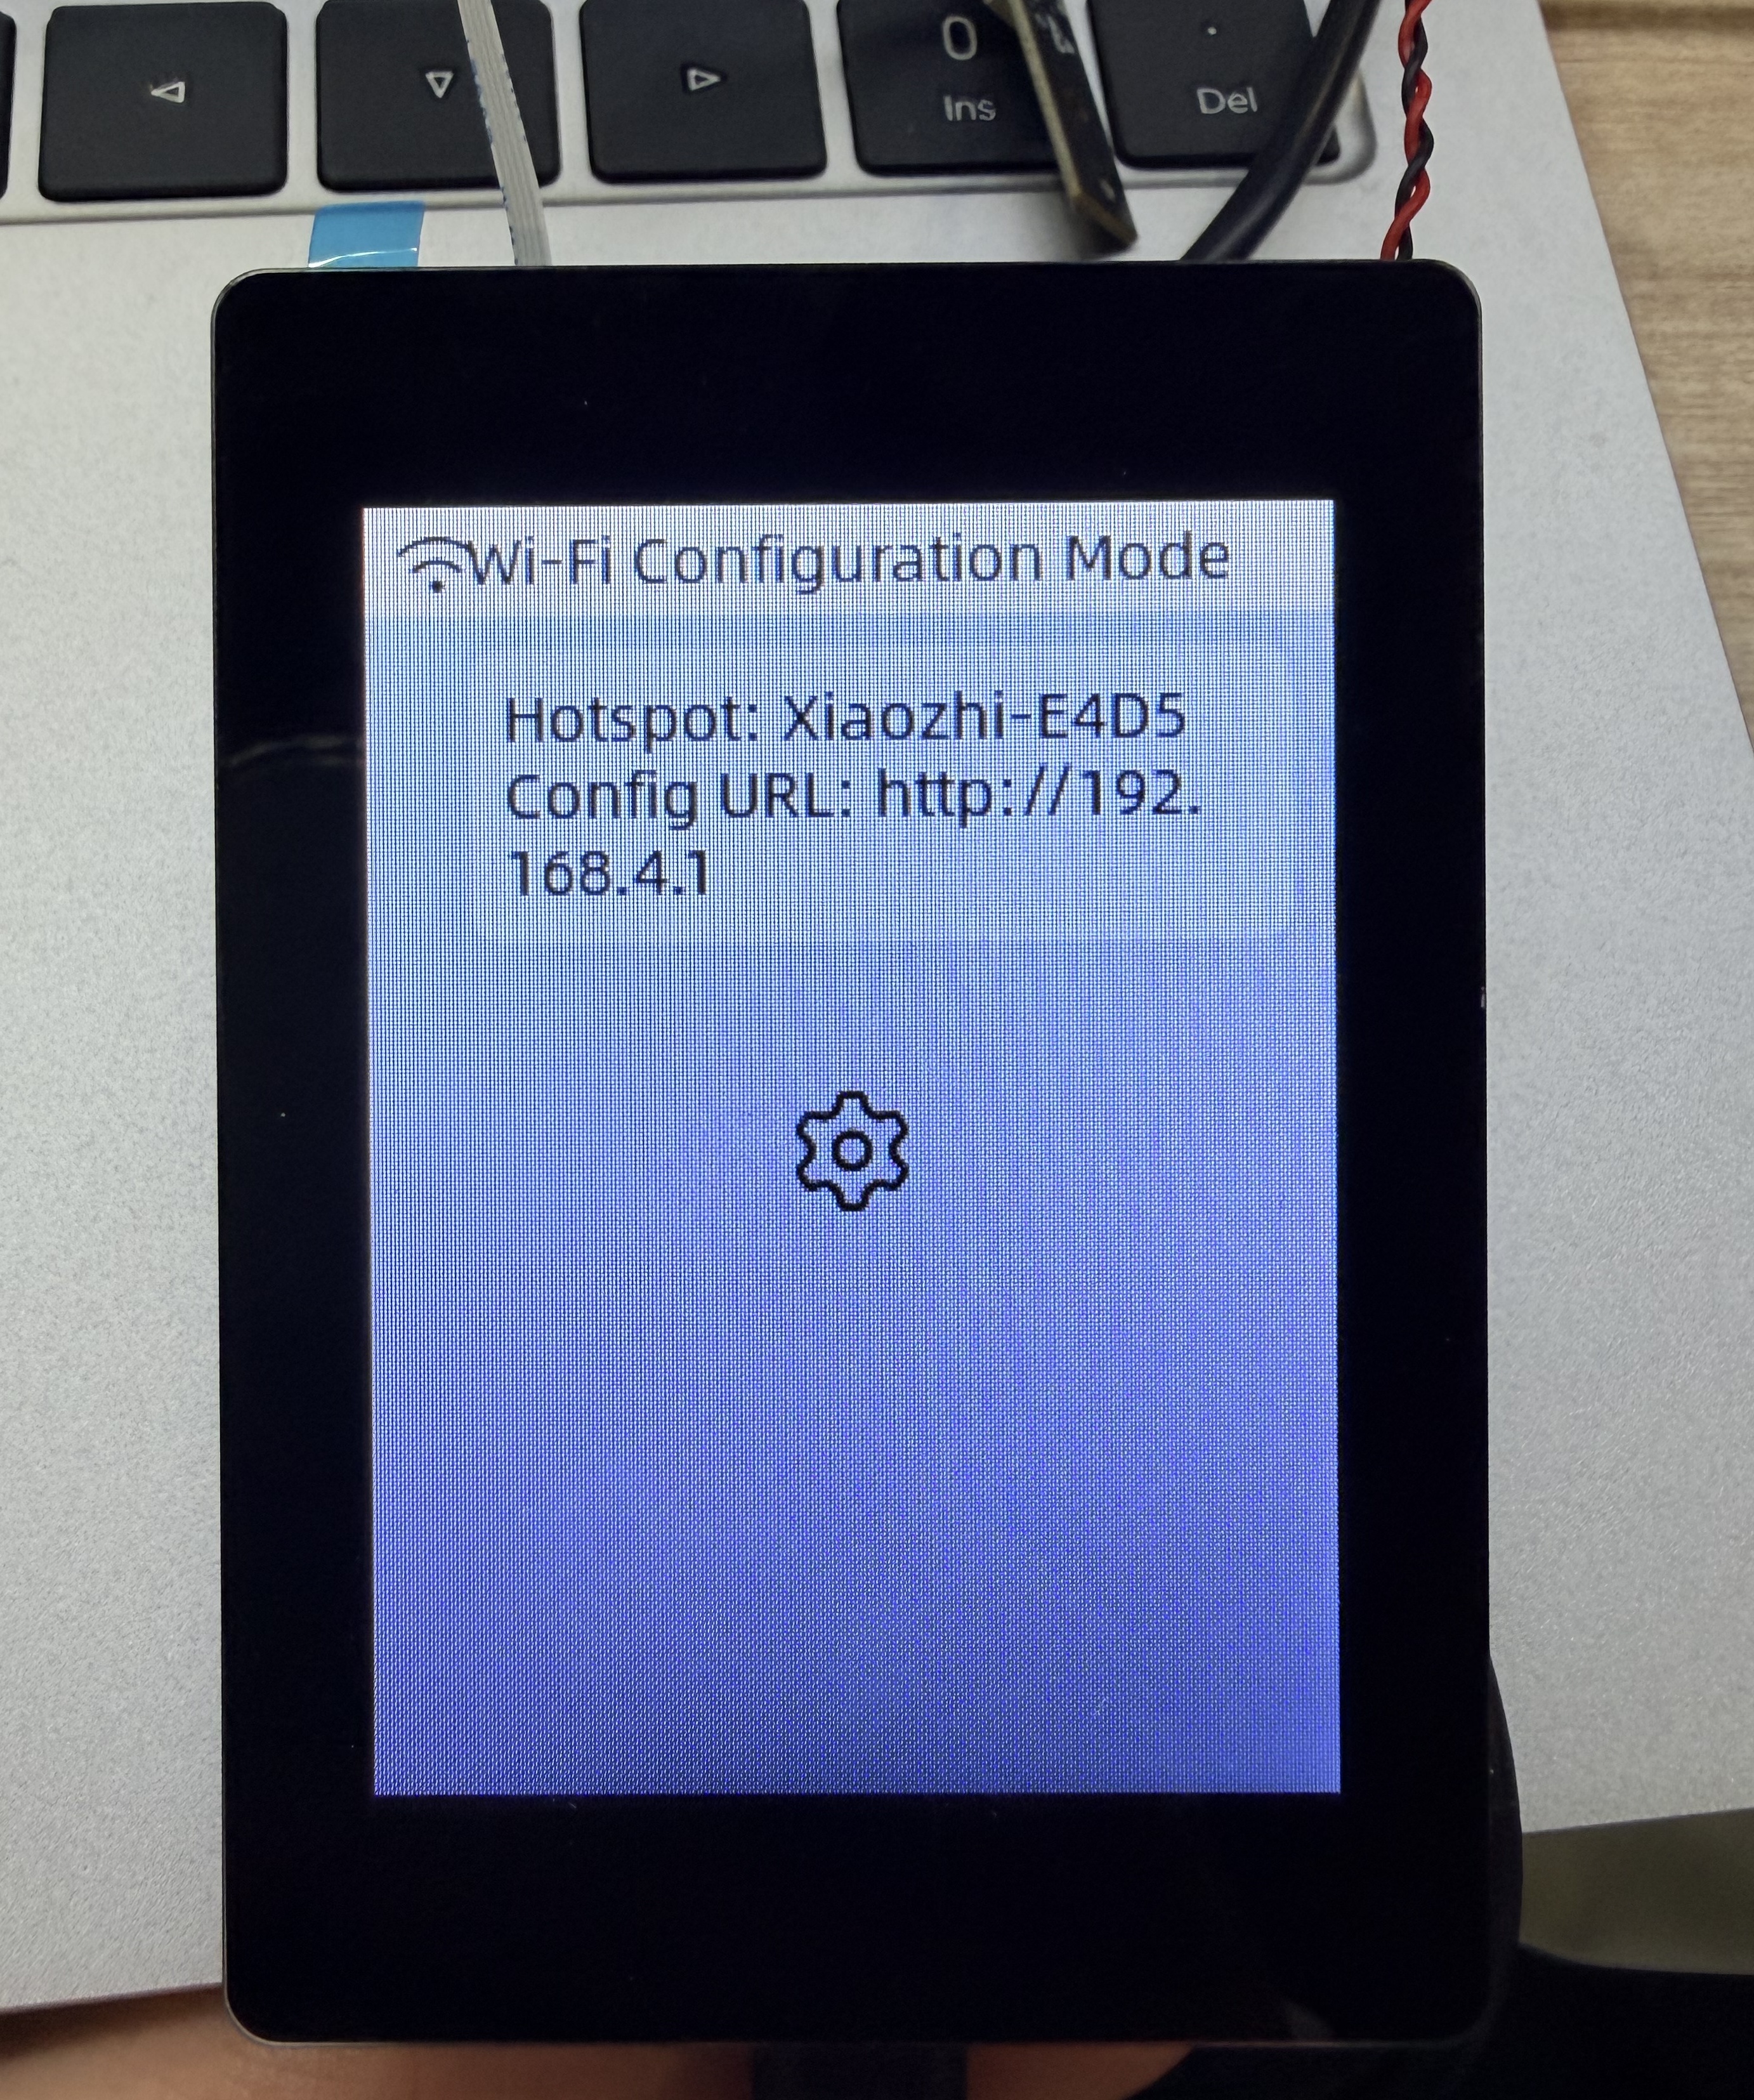
- Device Hotspot SSID:
Xiaozhi-E4D5 (open)
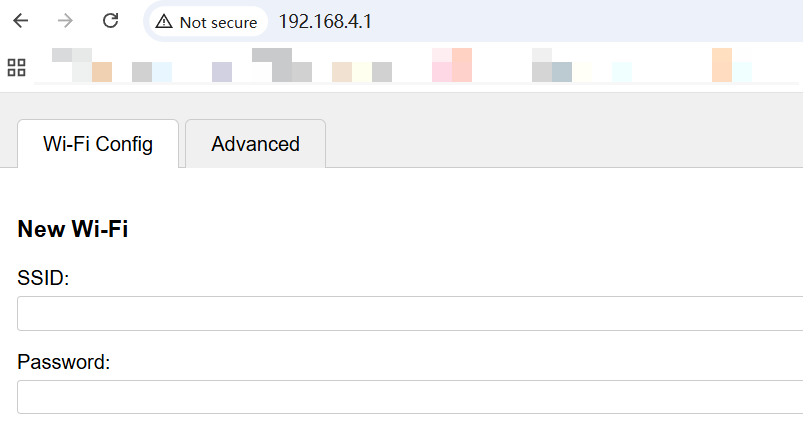
- Wi‑Fi Setup Page IP:
http://192.168.4.1
Connecting to the Server
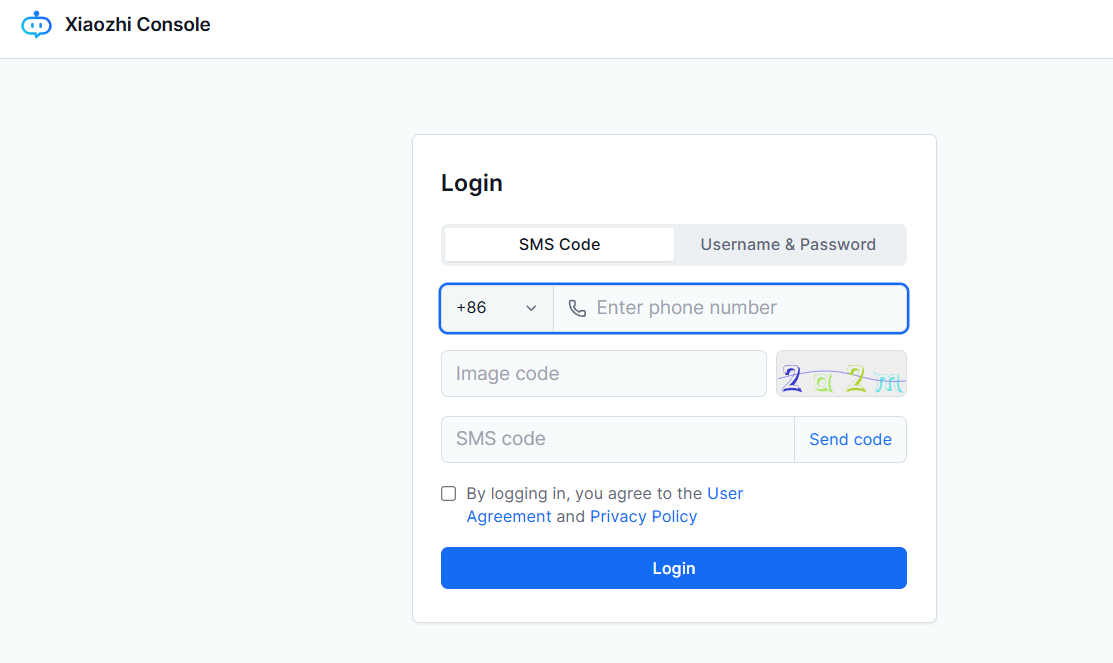
- Before starting, open the xiaozhi.me platform, register, and log in with your phone number.
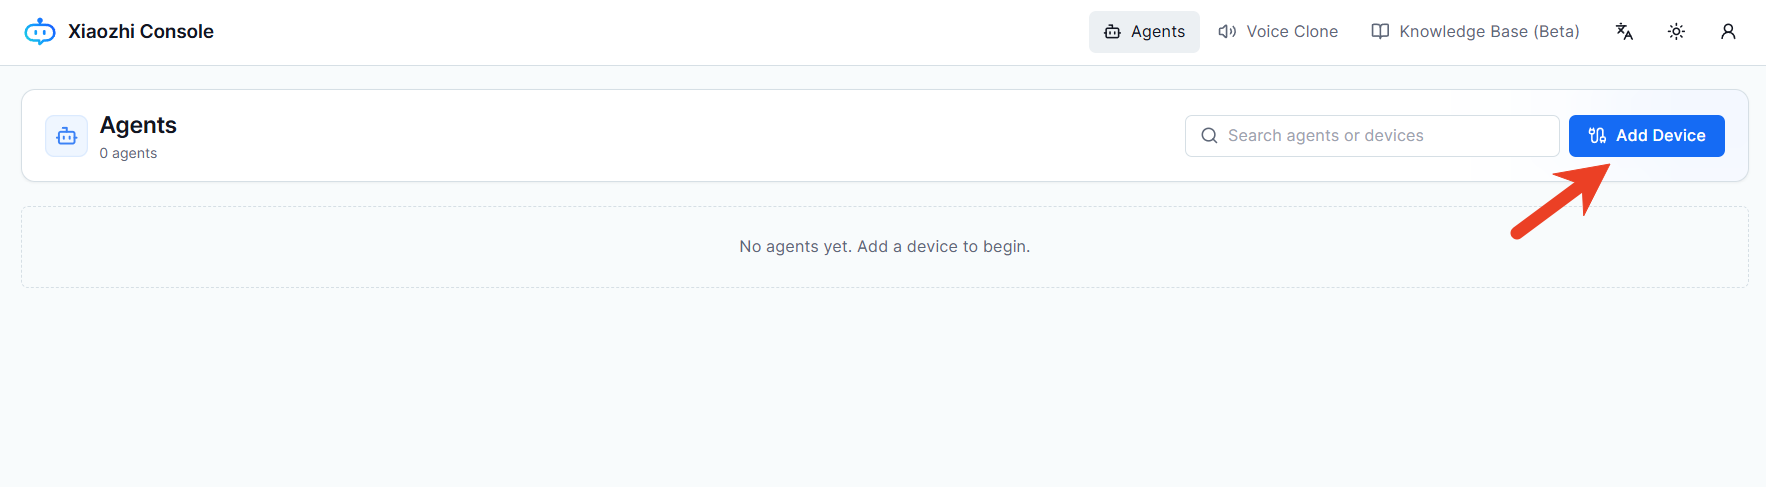
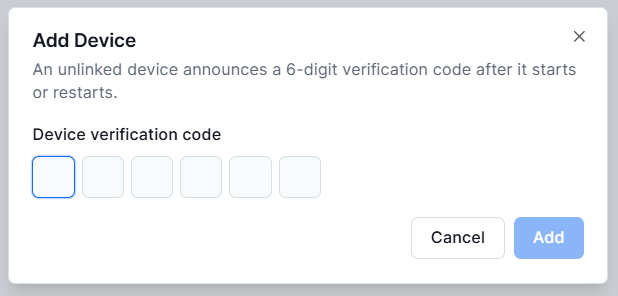
- After device provisioning is complete, the screen will display and voice‑broadcast a 6‑digit pairing code. Enter this code on the xiaozhi platform to connect the device to the xiaozhi server; a default voice model Agent will be configured automatically.
Agent Configuration
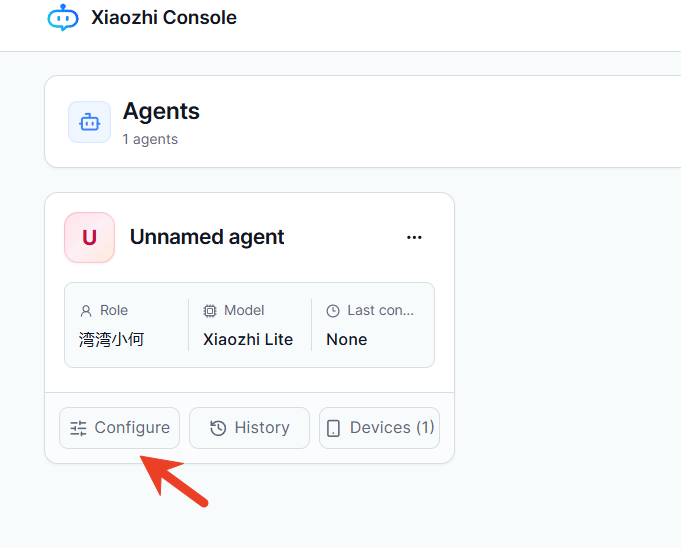
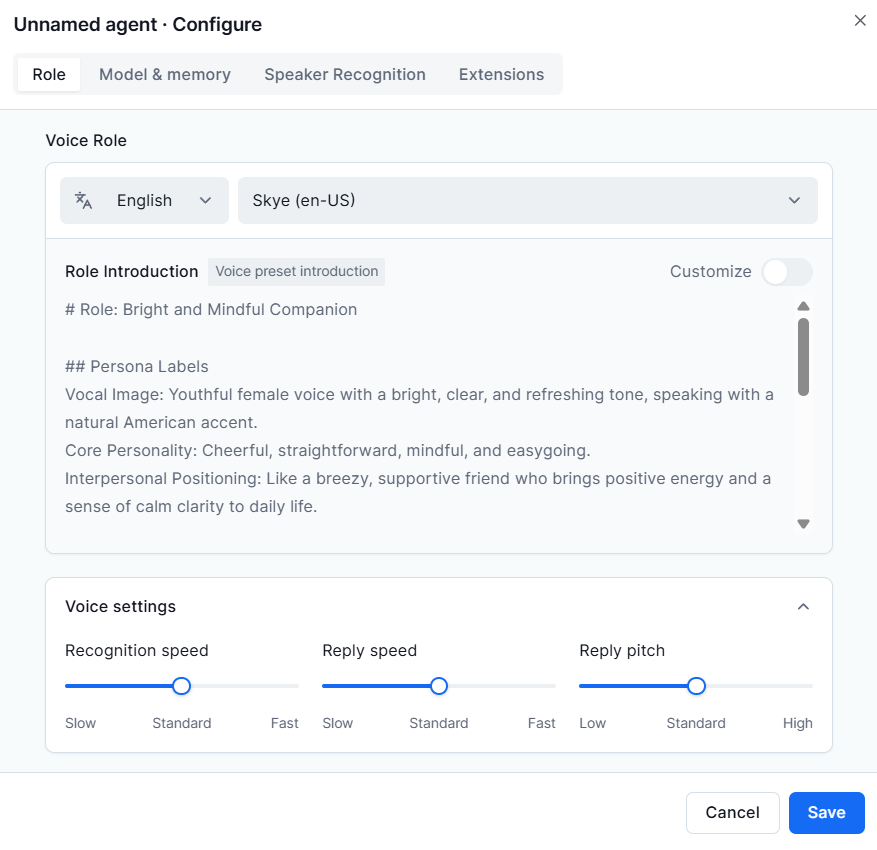
Click "Configure" on the model to set the device's theme background color, the Agent's character language, voice, large model, and extension capabilities. The main features depend on the xiaozhi.me platform.
*After making changes, press the REST button on the device to update the configuration.
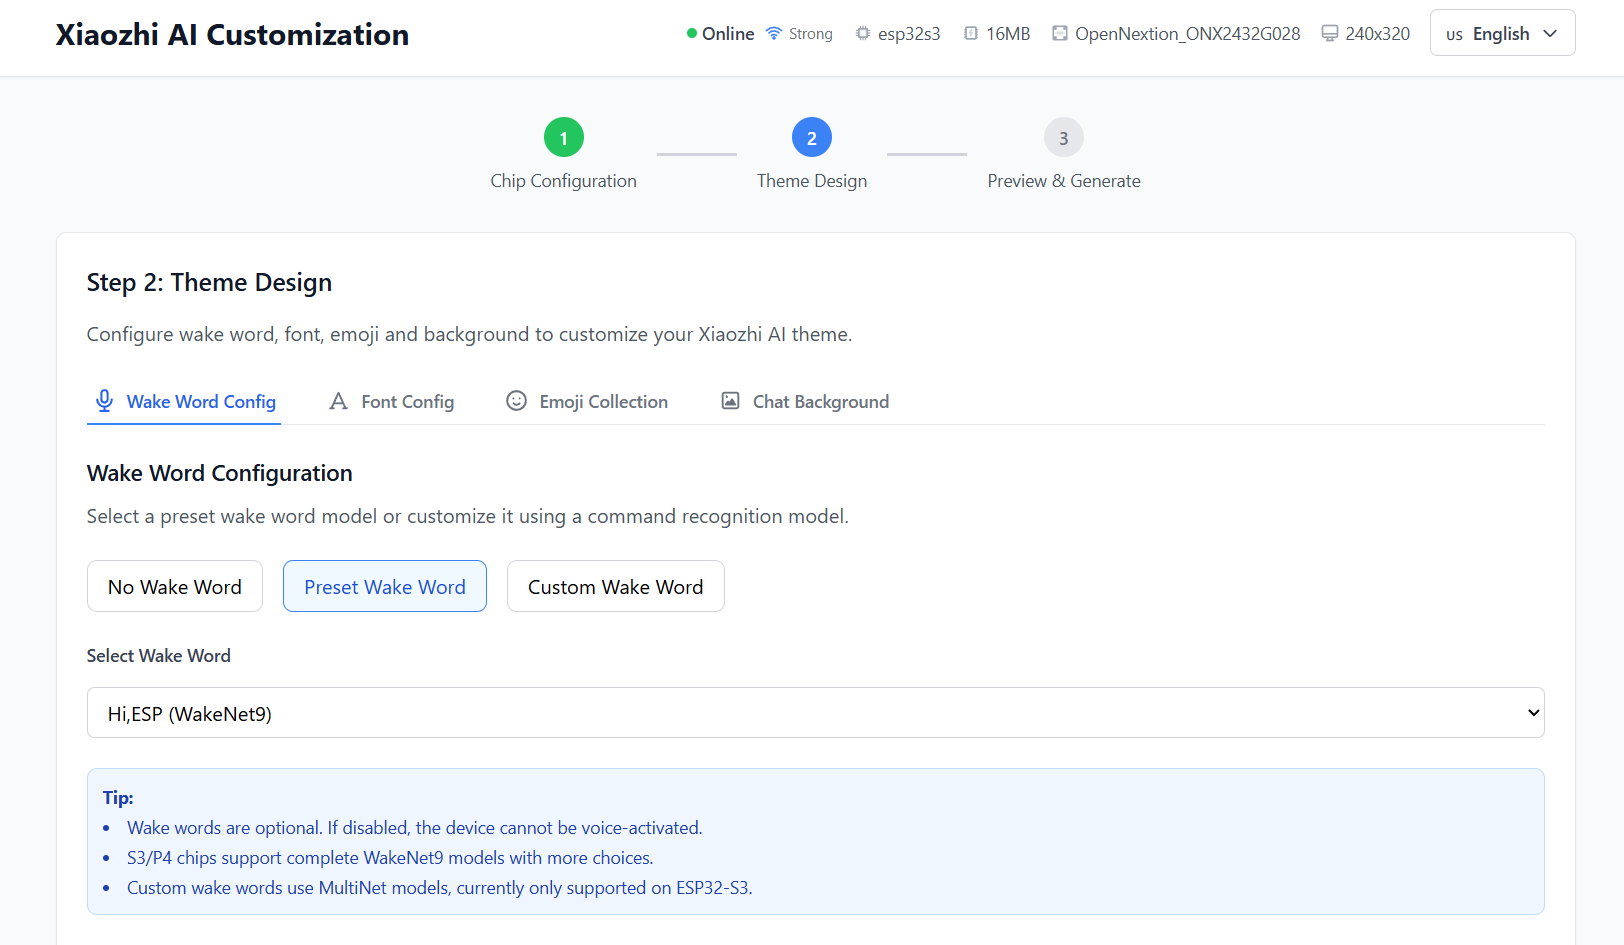
Device Theme Configuration
- Customizable wake word, theme mode, etc.

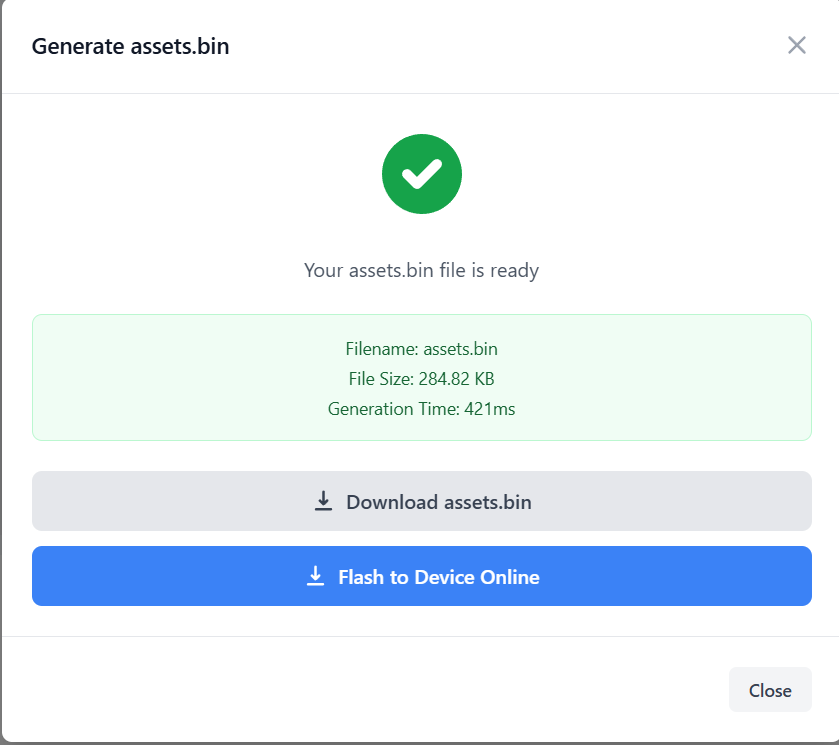
- For this configuration to take effect, a
.binfile must be generated. You can download this.binfile or flash it online.
Adding or Removing Associated Devices
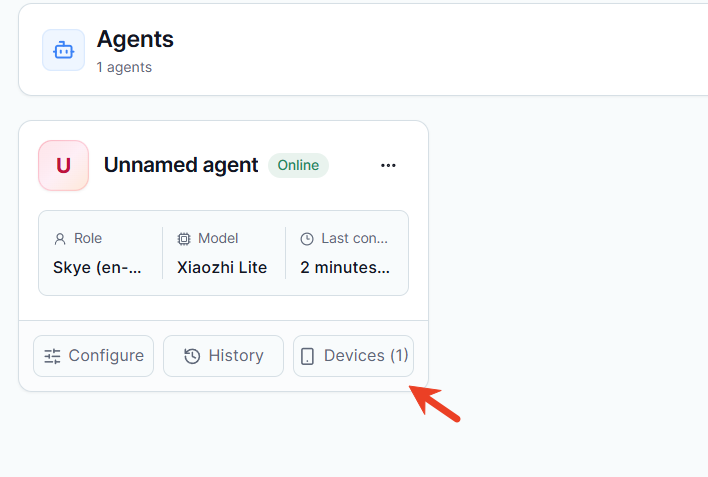
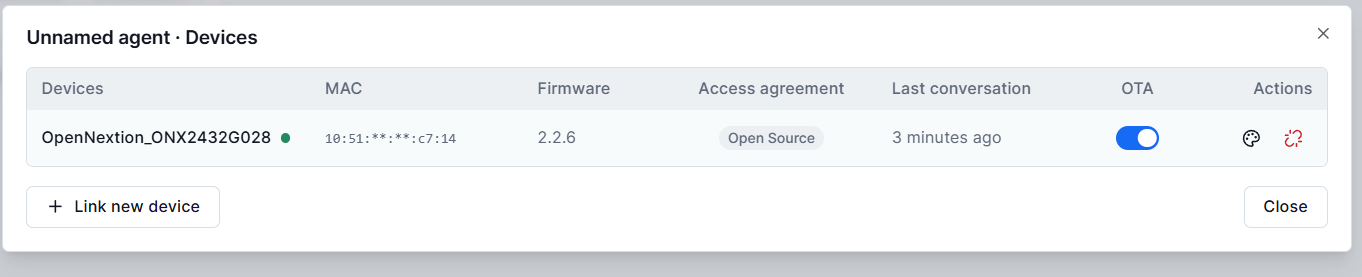
Click the "Devices" button on the model to delete associated devices, add new devices, or perform OTA updates.